Easy Granny Squares Crochet Pattern
Granny squares are timeless. They have been around since 1891. Some people say they are called "granny" because of their longevity.
As Crochet evolved, these squares grew in popularity. They are usually made with scraps of yarn leftover from larger projects. Using the exact weight of yarn throughout will produce similar-sized squares.
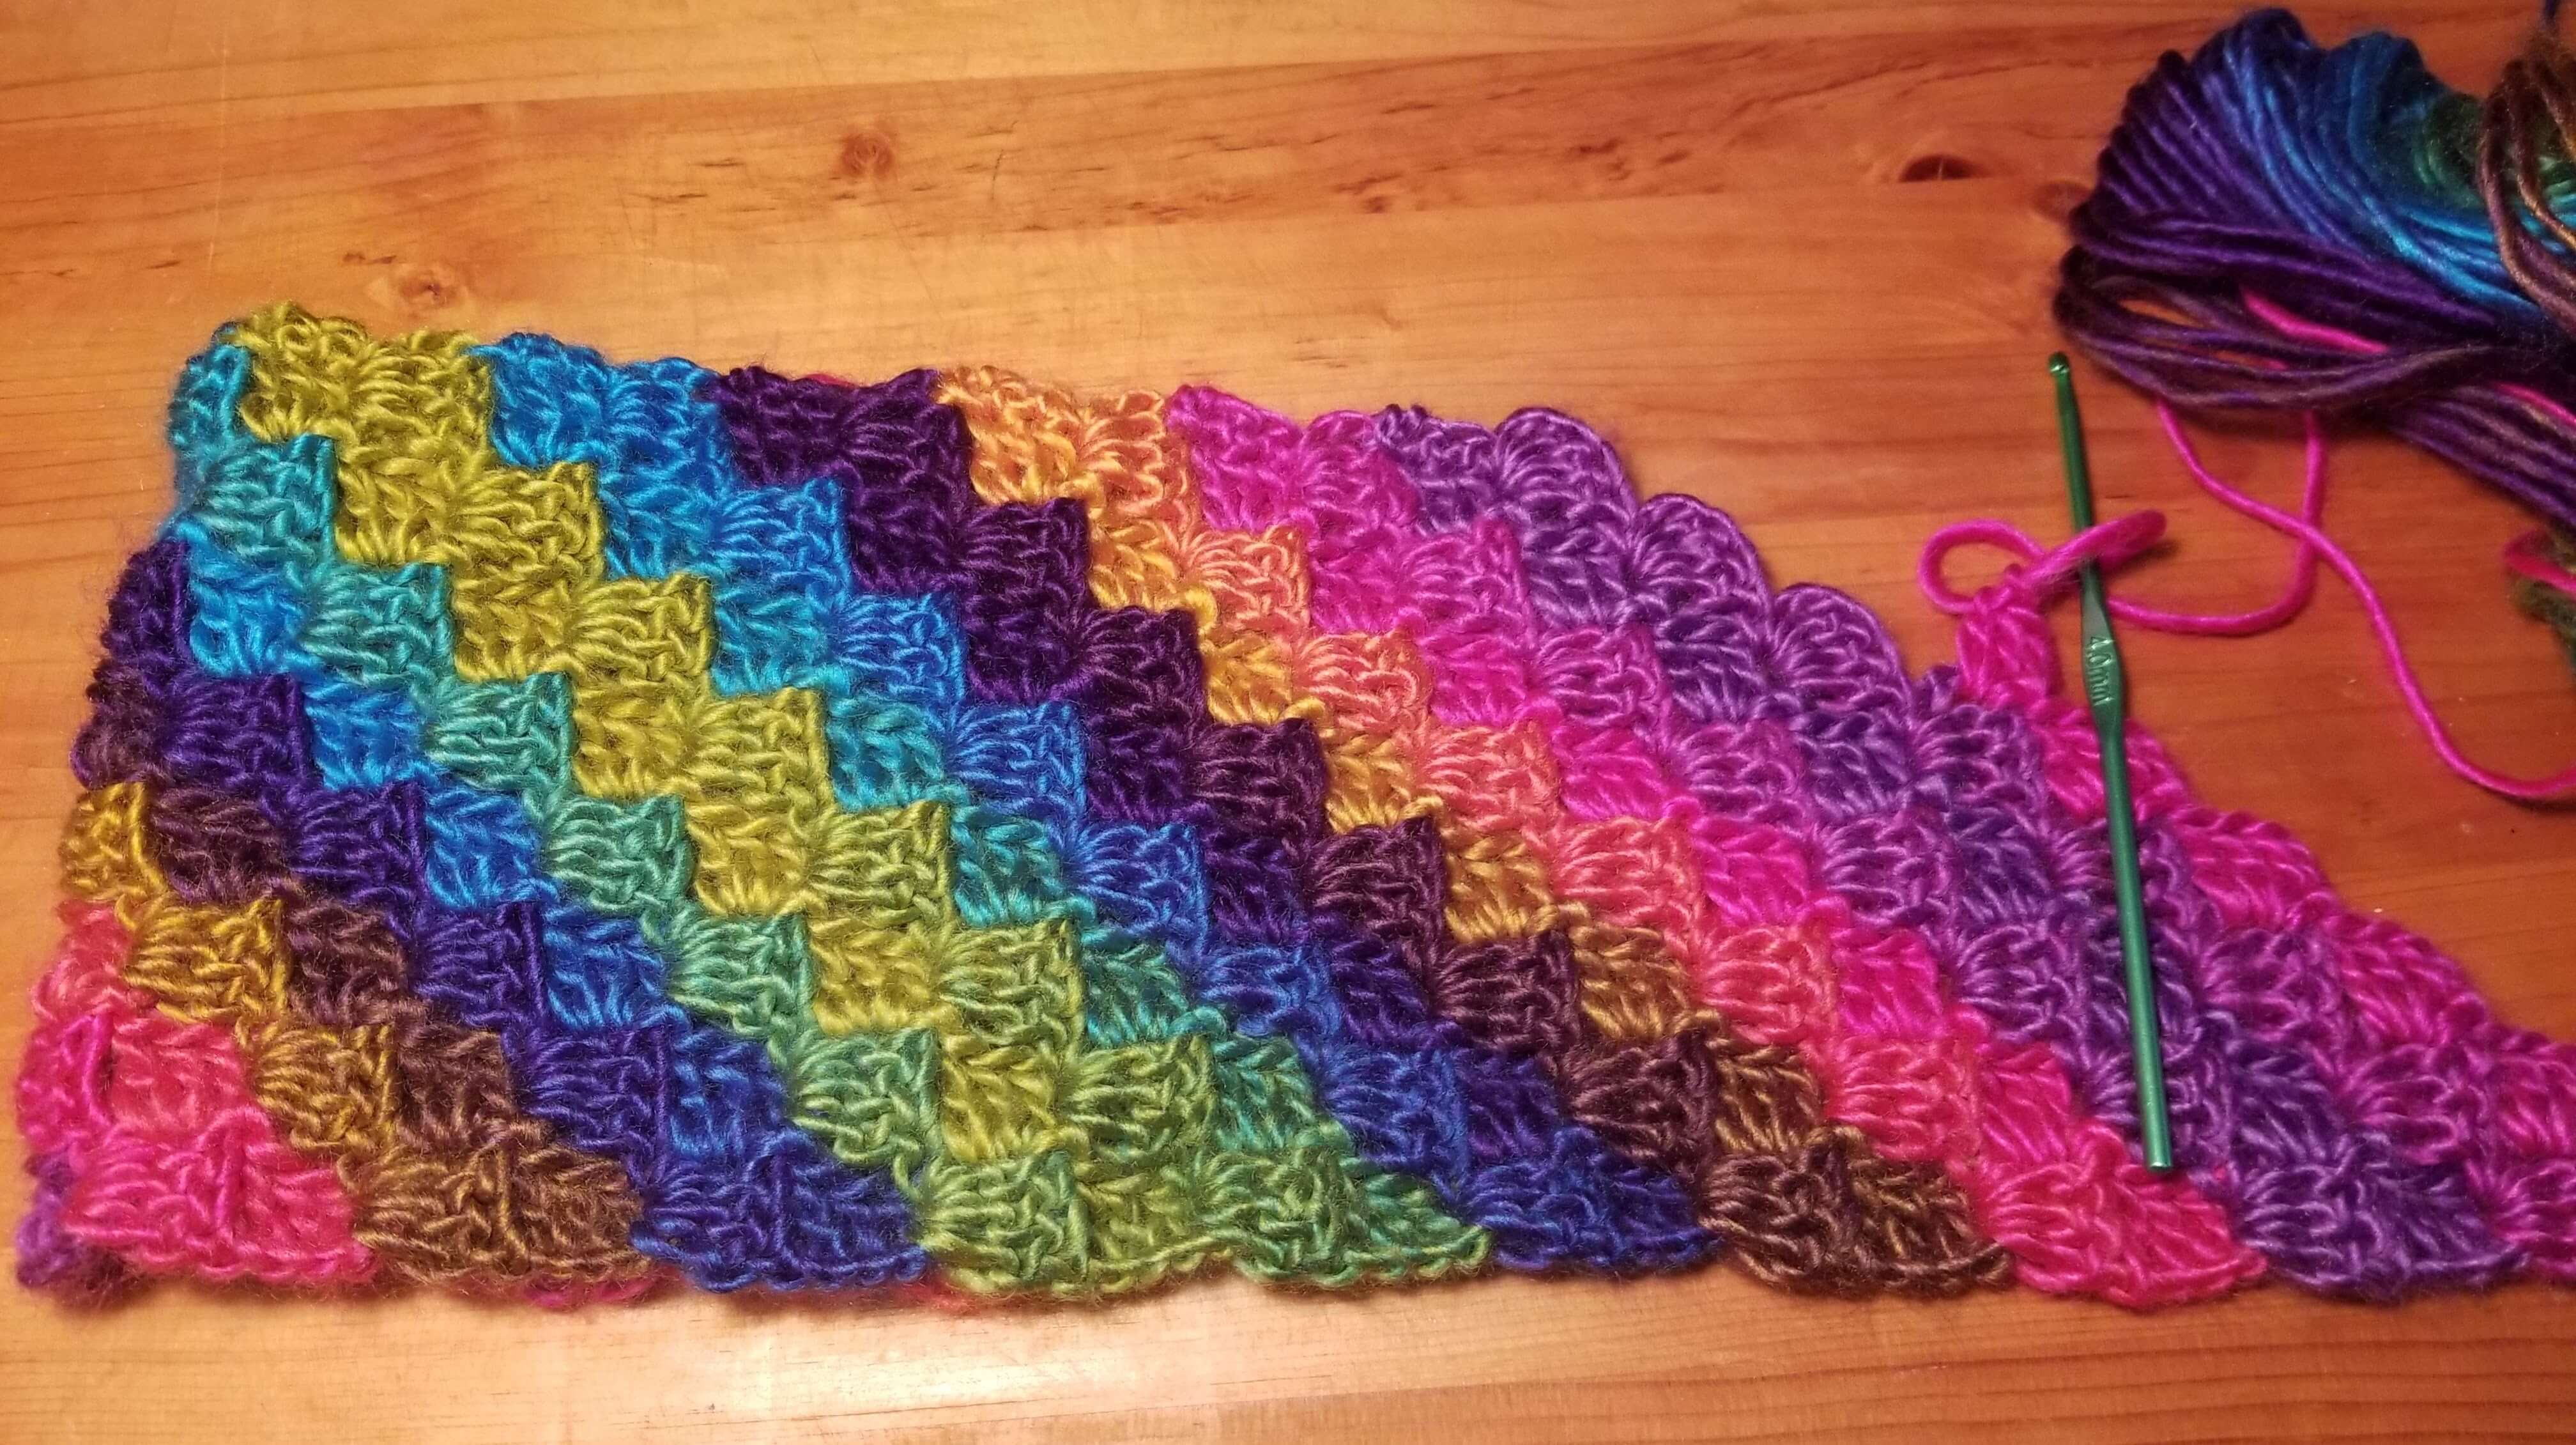
They are often colorful but can be made from single colors.
Granny Squares are beginner-friendly. They are very portable and easy to carry around to make in spare time.
These crochet squares can be turned into any article of clothing that you can imagine. Not to mention blankets, bags, purses, totes, wash clothes, etc.
There is no conventional size for these squares. But it is usually helpful to have them the same size to facilitate the final construction. With these patterns, you can make small blocks or a big block for a blanket.
Traditional Granny Squares Crochet Pattern

The traditional granny squares pattern is a cluster of 3 double crochet (or, in UK terms, trebles). Chains separate these clusters.
Stitches used:
- Magic Loop
- Chain (ch)
- Slip Stitch (sl st)
- Double Crochet (dc)
Solid Granny Square with no holes

This is a solid Granny Square with no holes.
The pattern only has 4 simple stitches.
Use any yarn and the recommended hook size.
Stitches used:
- magic ring,
- Chain (ch)
- Slip stitch (sl st)
- Double Crochet (dc)
- Treble Crochet (tc)
Greek Cross Square

X marks the spot with this Greek Cross Square
Stitches used:
- Magic Loop
- Chain (ch)
- Slip Stitch (sl st)
- Double Crochet (dc)
- Double Crochet Cluster (dc cl)
Pretty Cluster Square

Stitches used:
- Magic Loop
- Chain (ch)
- Slip Stitch (sl st)
- Double Crochet (dc)
- Double Crochet Cluster (dc cl)
Traditional Granny Squares Pattern
 Traditional Granny Squares Pattern
 Traditional Granny Squares Step 1
Begin with a magic loop
or make a slip knot, then chain 4. Join with sl st to 1st ch.
Row 1. Ch 3. (considered the first dc) . 2 dc into loop. { Ch 2. 3 dc into loop} 3 times. Ch2. Join with sl st to 3rd of 1st 3 ch.
 Traditional Granny Squares Step 2
If changing color, join new yarn in corner. If not changing color, sl st in the previous corner.
Row 2: Ch 3. (considered the
first dc). 2dc in space. {Ch1 { 3 dc, Ch2. 3 dc in next
corner space.)} 3 times. Ch 1. 3 dc in corner space. Join
with sl st to 3rd of 1st 3 ch.
Traditional Granny Squares Step 3Begin in a corner.
Row 3: Ch 3. (considered the first dc). 2 dc in space. { side: Ch1. 3 dc in next space. Ch 1}. {corner: 3 dc, ch 2. 3 dc in next space }
Repeat (Side, Corner) 2 more times. Do Side. 3 dc in the corner space. Join with sl st to 3rd of 1st 3 ch.
Row 4. Ch 3.
(considered the first dc). 2dc in space { side: Ch1. 3
dc in next space. Ch 1, 3dc in next space, ch 1}. {corner:
3 dc, ch 2. 3 dc in next space }
Repeat (Side, Corner) 2 more times. Do Side. 3 dc in corner space. Join with sl st to 3rd of 1st 3 ch.
To make a larger square, increase each side by 1 more ( 3dc in next space, ch 1). The corner stays the same (3 dc, ch 2. 3 dc in next space).
Solid Granny Square with no holes
 Solid Granny Square with no holes
 Solid Granny Square with no Hole, work under 2 top stitches
Special Instructions: make sure to work just under the 2 top stitches.
 Solid Granny Square with no Hole, step 1
Begin with a Magic loop.
Row 1: Ch 4. 3 dc in ring. {1 tc, 3 dc in ring} 3 times. Join with sl st to top of 1st ch 4.
 Solid Granny Square with no Hole, step 3
Row 2: Ch 4. 2 dc in base of ch. {(side: 1dc in next 3 dc.) (corner: 2 dc, 1 tc, 2dc in tc)} 3 times.
Do side. 2dc in next st. Join with sl st to top of 1st ch4.
Row 3: Ch4. 2 dc I base of ch. {(side: 1 dc in next 7 dc) (corner: 2dc, 1 tc, 2dc in tc)} 3 times.
Do side. 2dc in next st. Join with sl st to top of 1st ch4.
Continue working the pattern, increasing the side dcs by working in each dc from the previous row.
Greek Cross Square Pattern
 Greek Cross Pattern step 1
Begin with a Magic Loop.
1. Ch 3. (counts as 1 dc). Make a 5dc cl into the ring. {Ch5. 1 5dc cl} 3 times. Ch 5. Draw ring tight. Join with sl st to top of 1st cluster.
 Greek Cross Pattern Step 2
Row 2: Ch 3. Ch 3. (counts as 1 dc). {Make a 3dc cl into the top of the cluster. Ch3. 5dc in space. Ch3} 4 times. Join with sl st to top of 1st cluster.
Greek Cross Pattern Step 3Row 3: Ch 3. Ch 3. (counts as 1 dc). {Make a 3dc cl into the top of the cluster. Ch3. Sk 2 ch. 1 dc in next ch. 1 dc in next 5 dc. 1 dc in ch. Ch 3}4 times. Join with sl st to top of 1st cluster.
Repeat Row 3 increasing side dcs by 2 for each round.
To get you started here is round 4.
1. Ch 3. Ch 3. (counts as 1 dc). {Make a 3dc cl into the top of the cluster. Ch3. Sk 2 ch. 1 dc in next ch. 1 dc in next 7 dc. 1 dc in ch. Ch 3}4 times. Join with sl st to top of 1st cluster.
Pretty Cluster Square Pattern
 Pretty Cluster Square
 Pretty Cluster Square step 1
Begin with Magic Loop. Leave a longer tail than normal because you will be putting a lot of stitches in the loop. (approx. 6 inches).
Row 1: Ch3 (counts as 1 dc). {Work 5dc cl in loop. Ch2} 8 times. Draw loop tight. Join with sl st to top of 1st cluster
 Pretty Cluster Square step 2
Row 2: Ch 5. 1dc in base of ch5. {(Ch2. 5dc cl in next space.) 2 times. Ch2. 1 dc, ch2, dc in top of next cluster} 3 times. (Ch2. 5dc cl in next space.) 2 times. Ch2. Join with sl st in 3rd of 1st 5 ch.
 Pretty Cluster Square step 3
Row 3: Sl st into next space. Ch 5. 1dc in same space. {side: (Ch2. 5dc cl in next space.) 3 times. Corner: Ch2. 1 dc, ch2, dc in next space}
Repeat side, Corner 3 times.
Repeat side
Ch2. Join with sl st in 3rd of 1st 5 ch.
Continue in Row 3 pattern adding 1 more cluster to each side as the rows increase, until your desired size is reached.
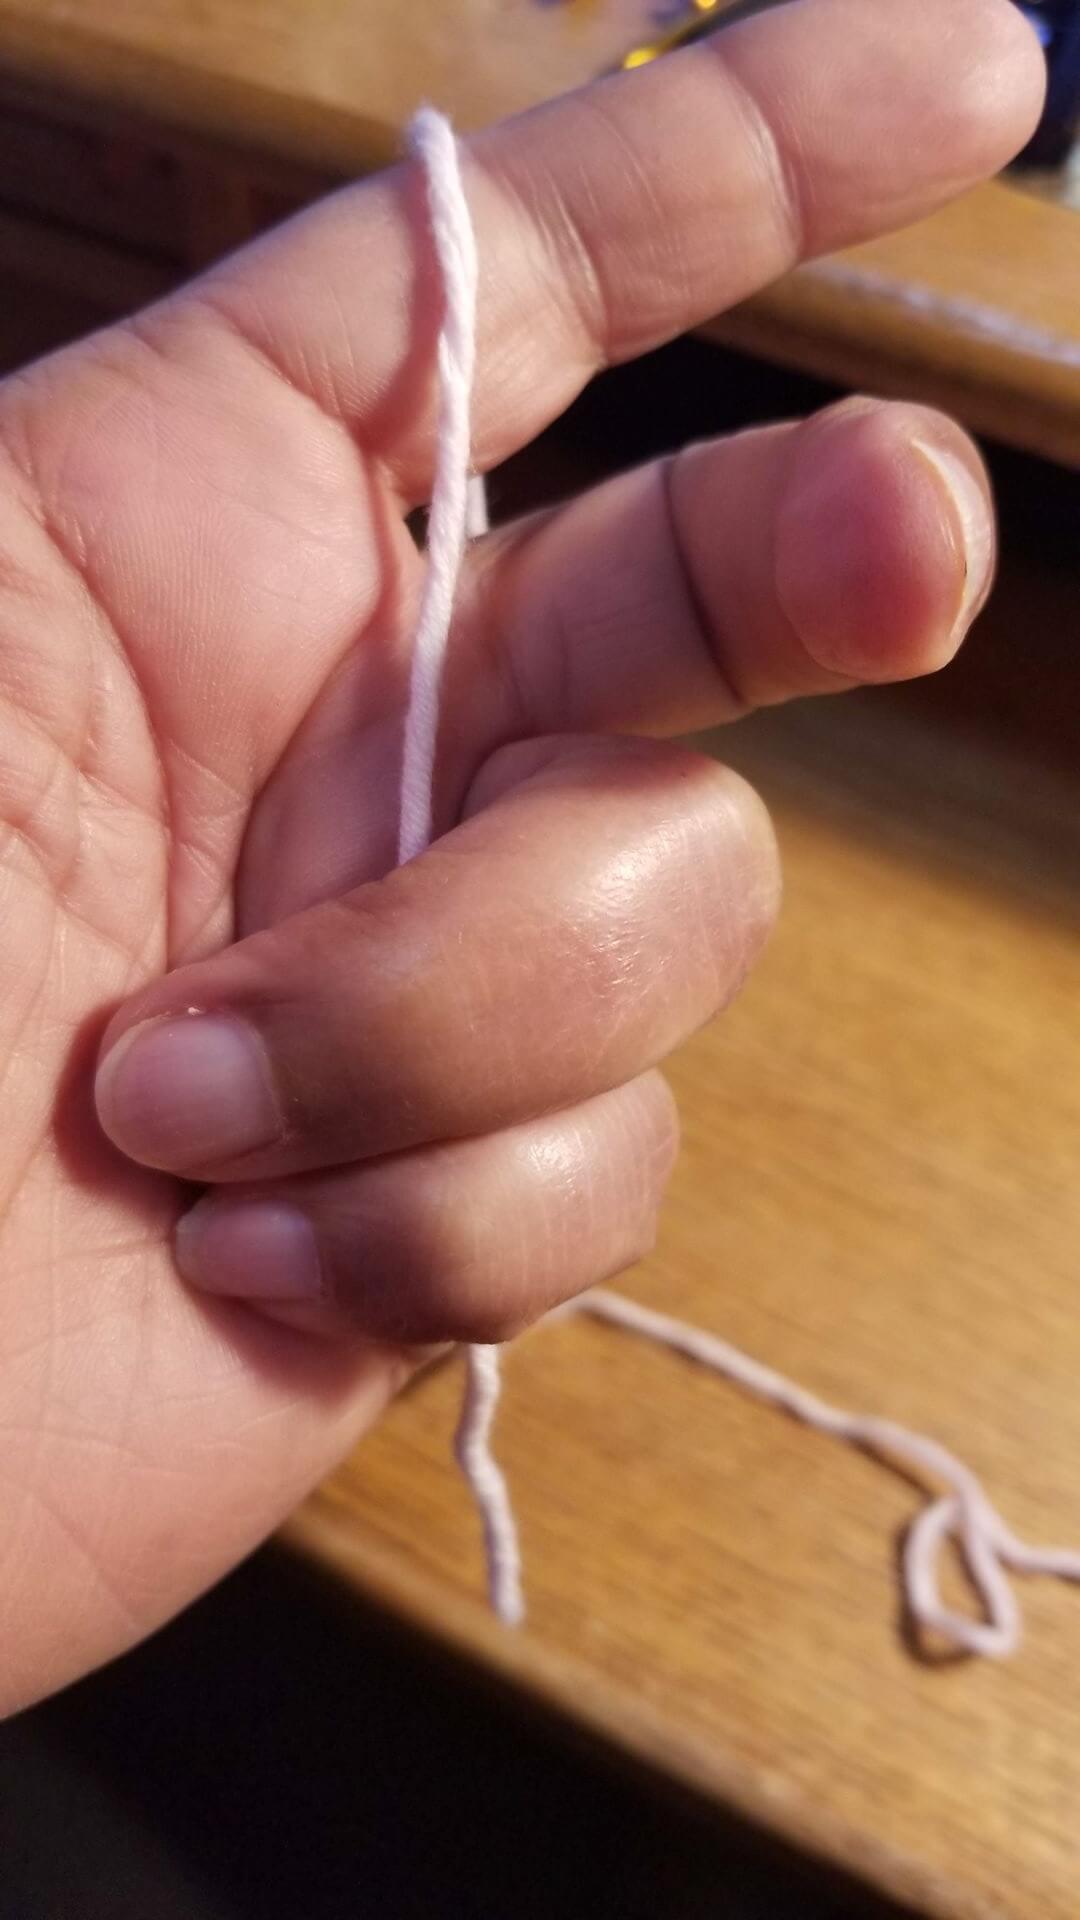
Magic Loop also known as the Magic Ring
Magic Loop, Learn how to do it here
C2C Crochet Pattern is much easier than it looks and works up fast
C2C crochet pattern works up easily and is great for blankets
Crochet Stitch Patterns: See what you can create with these stitches
Crochet Stitch Patterns: Learn these beautiful easy to make stitches

Signup for our Newsletter so we can send you more valuable crochet tips and tricks.
If you receive value from this site, please consider buying me a cup of coffee so that I can continue making great content.
Recent Articles
-
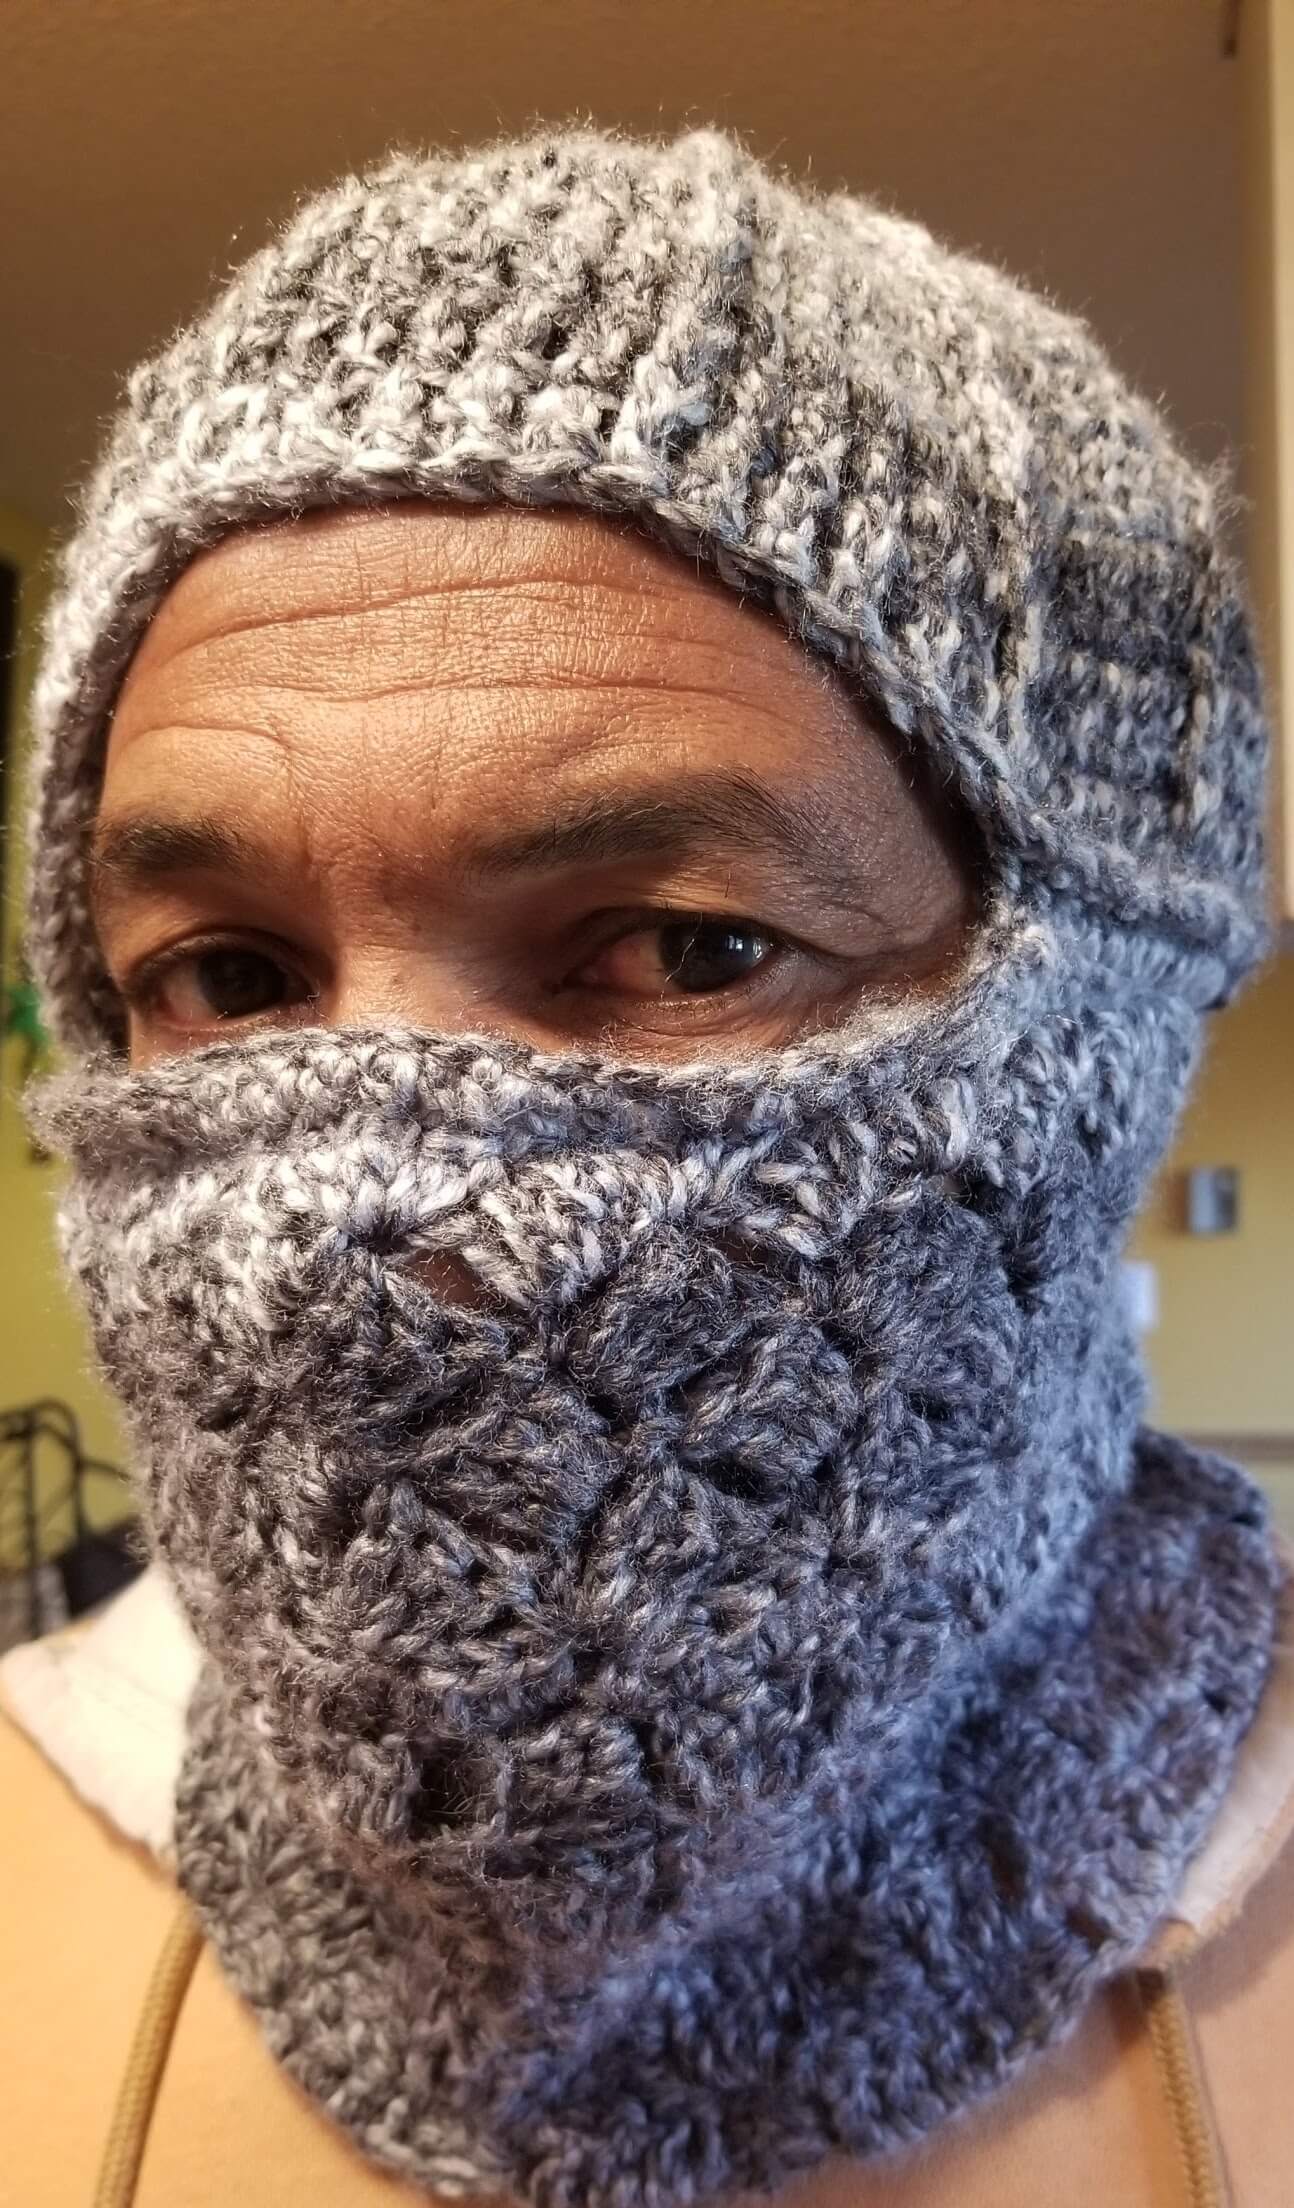
Crochet Balaclava Mask
 More commonly known as the ski mask in US. It covers the head, face and neck. Makes the perfect gift for a special man in colder climate.
 -
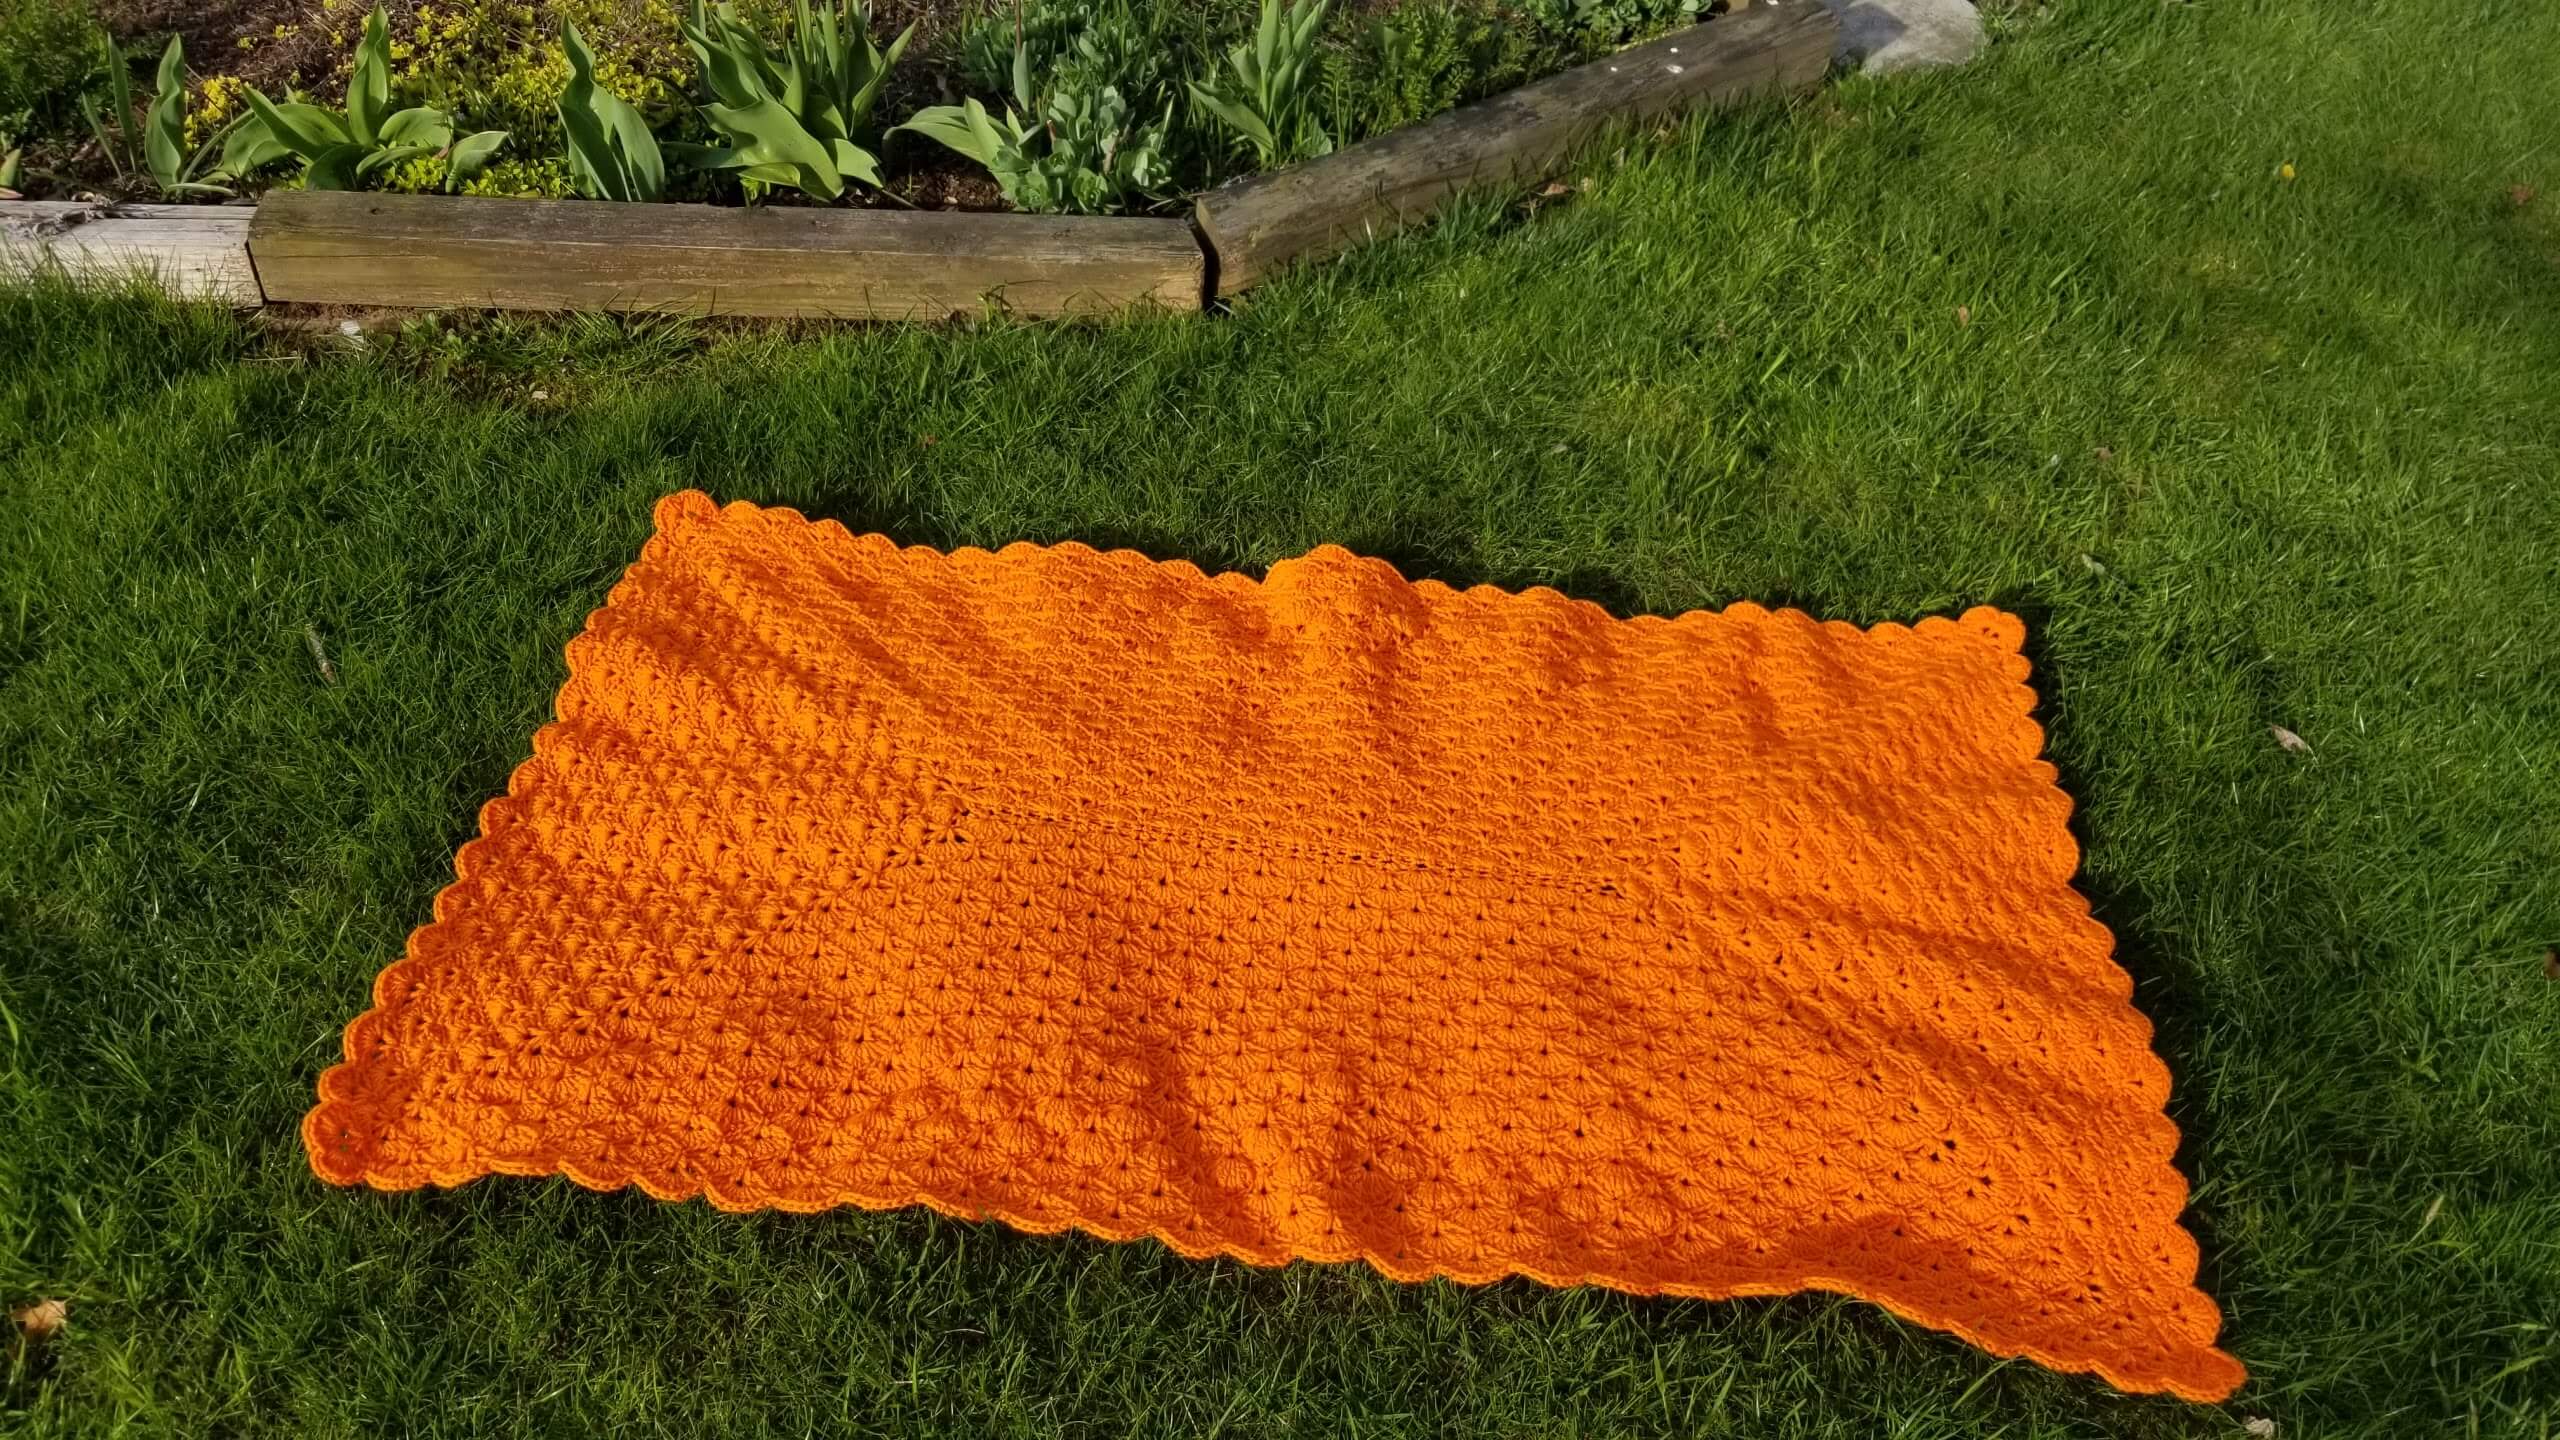
Modern Crochet Blanket Patterns Free
 Modern Crochet Blanket Patterns Free
 -
Magic Loop also known as the Magic Ring
 Magic Loop, Learn how to do it here