- Home
- Crochet Balaclava Mask
A crochet balaclava mask makes a beautiful gift for your special person
The crochet balaclava mask is a preferred gift in the Crochet Gifts for Men category. This is especially true for men in northern climates, which tend to get very cold. If you are in the United States, you may know the balaclava as a ski mask. Read on, and I will tell you why it is called the balaclava.

Balaclava History, Why is it called Balaclava?
In 1854 during the Battle of Balaclava in Balaklava, Crimea,
the British Troops suffered from the cold because they did not have proper
clothing. When people heard, they began
knitting warm clothing for the soldiers.
They made a favored woolen head cap that covered the neck, head, and
part of the face. The soldiers wore this
cap under the helmet. The troops called
these caps or facemasks balaclavas after the place.
What makes a good Crochet Balaclava Mask?
It needs to be comfortable and soft. Depending on how it is worn, bulk might be a consideration. If the mask is worn under a hat or helmet, it should be thin and not bulky. If being worn by itself, bulky might be preferred.
Make sure that the yarn is comfortable on your face and not itchy. You should also make a soft stretchable crochet fabric around the neck.
How to make the Crochet Balaclava Mask
Crochet balaclavas are made top-down or bottom-up, or the top and bottom are made separately and sewn together.
 Crochet Balaclava Mask
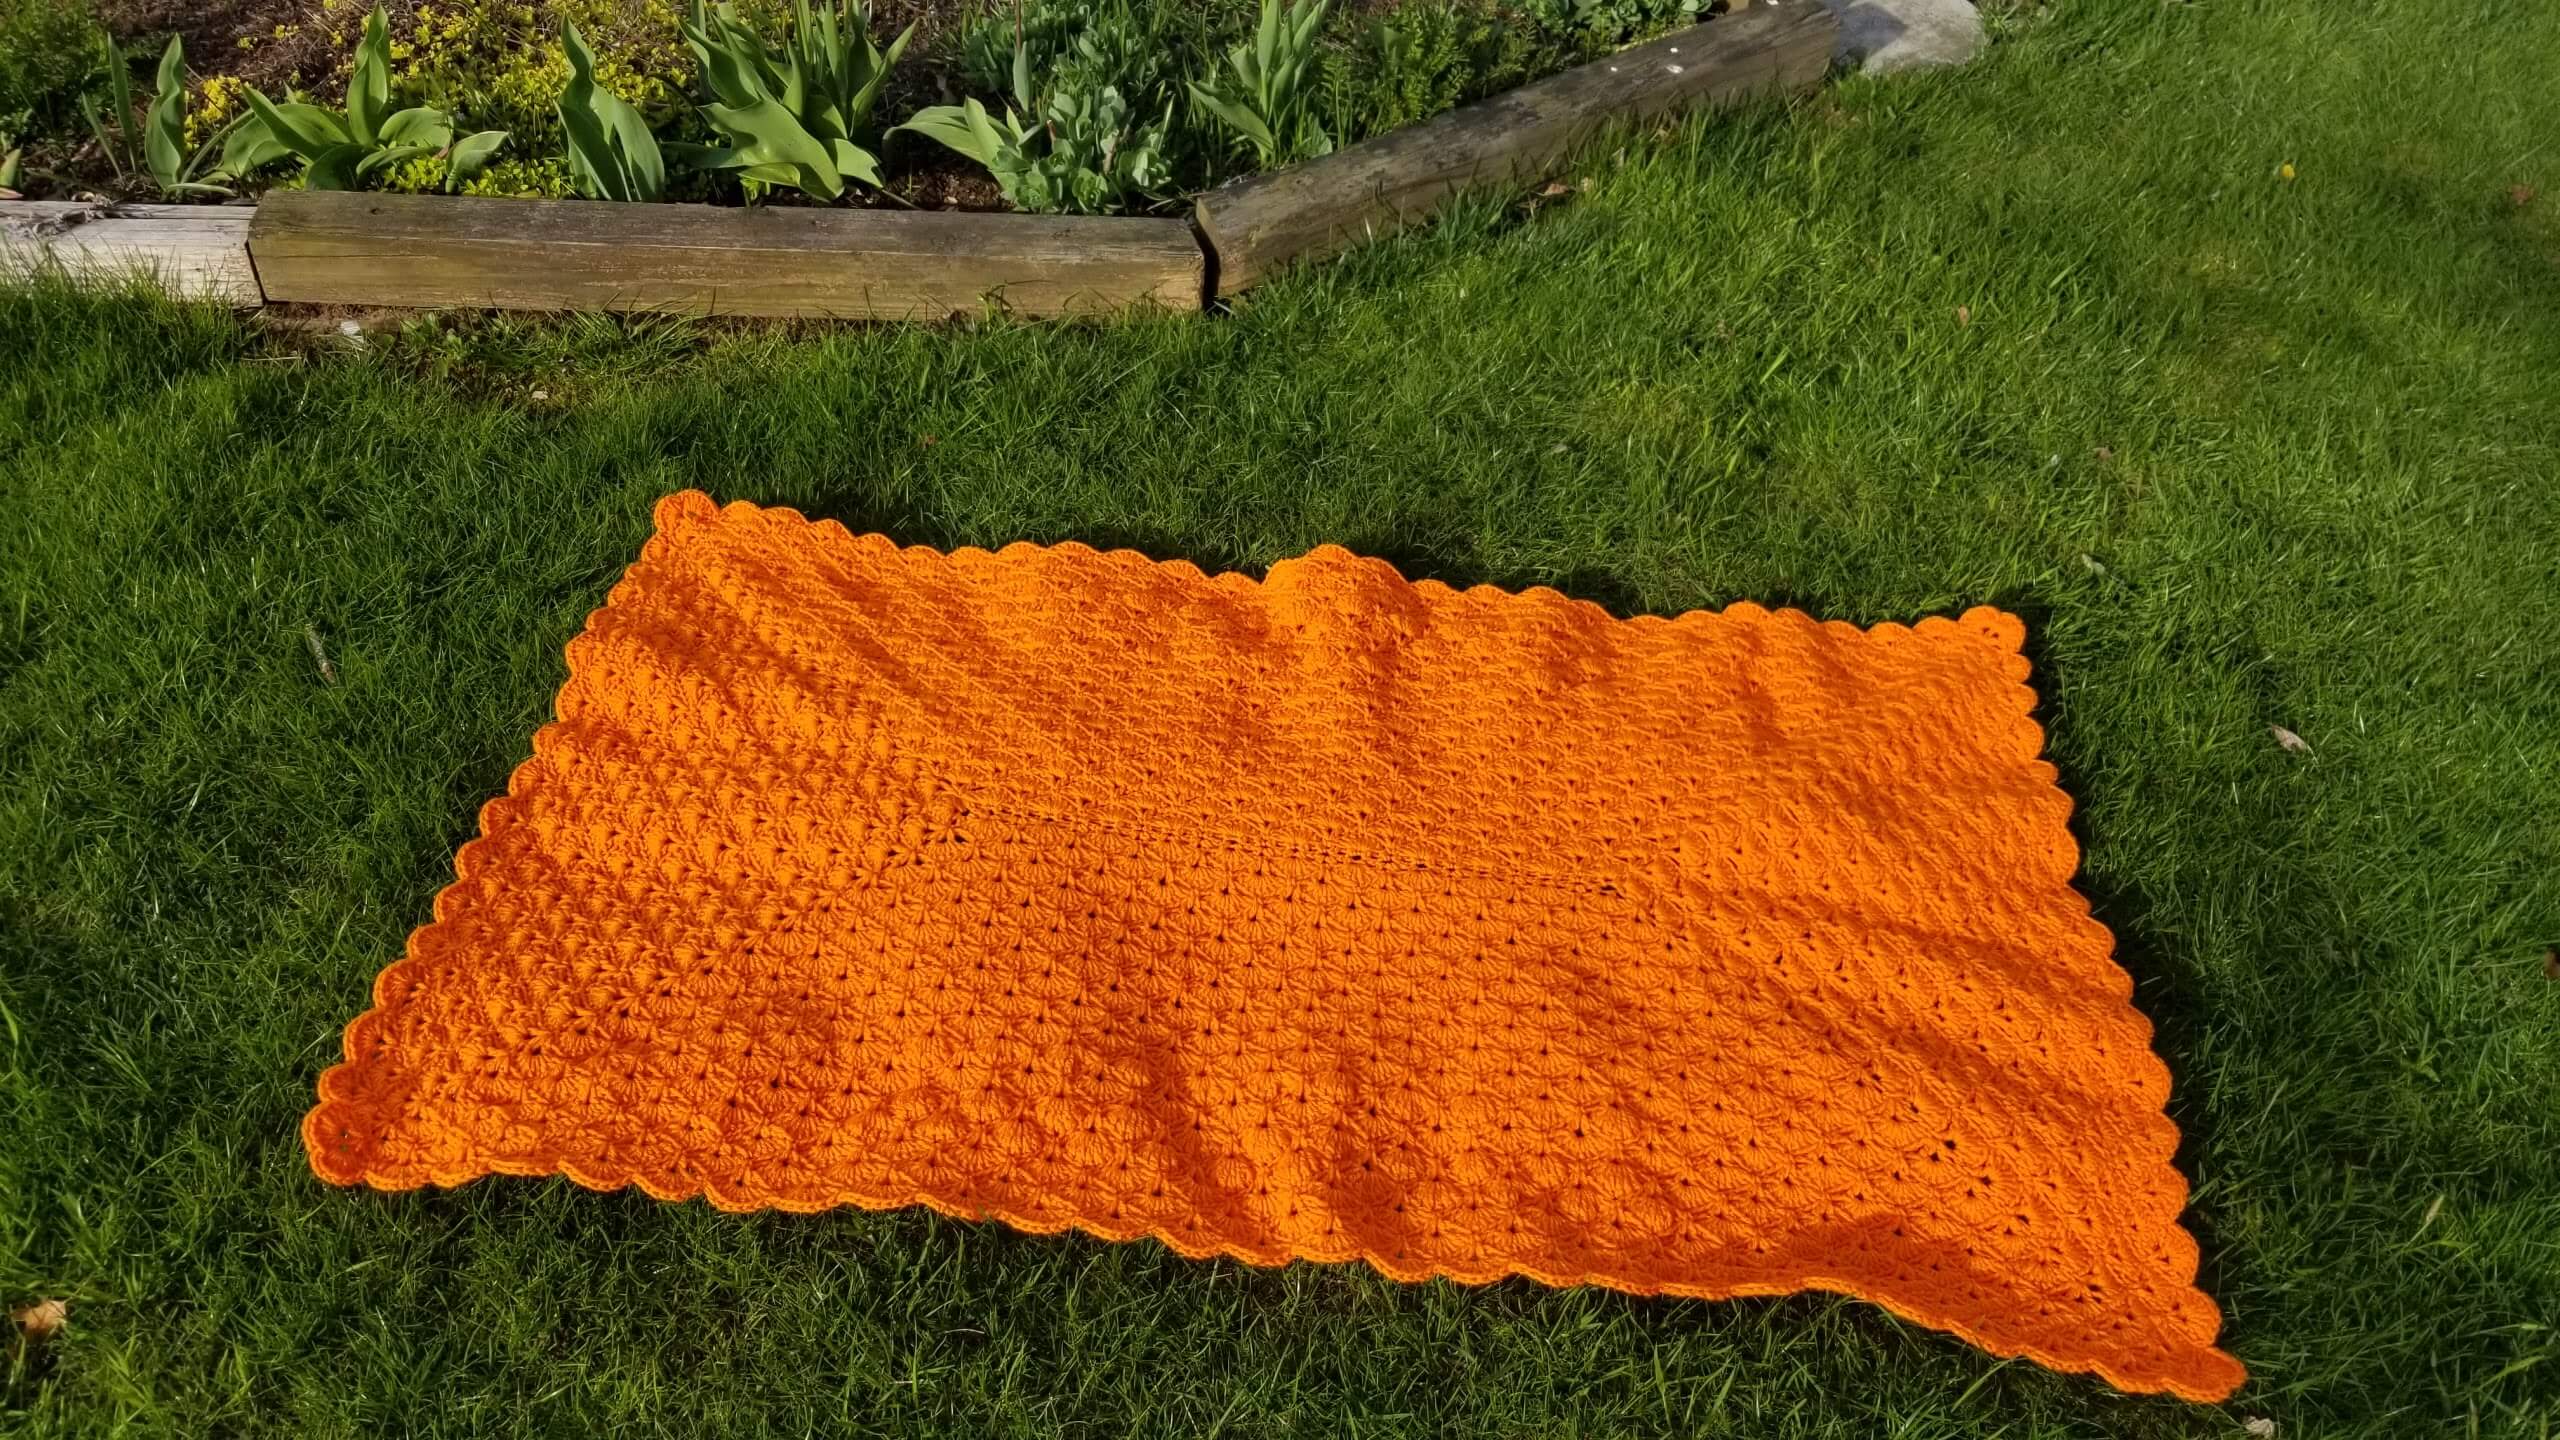
This one is made in two parts and sewn together. The bottom part, which sits around the neck, is a rectangle fabric done in the C2C style and sewn together to form a tube.
Then the top is a top-down hat in half double crochet (hdc).
Leave a slit between the hat top and the neck part for the eyes.
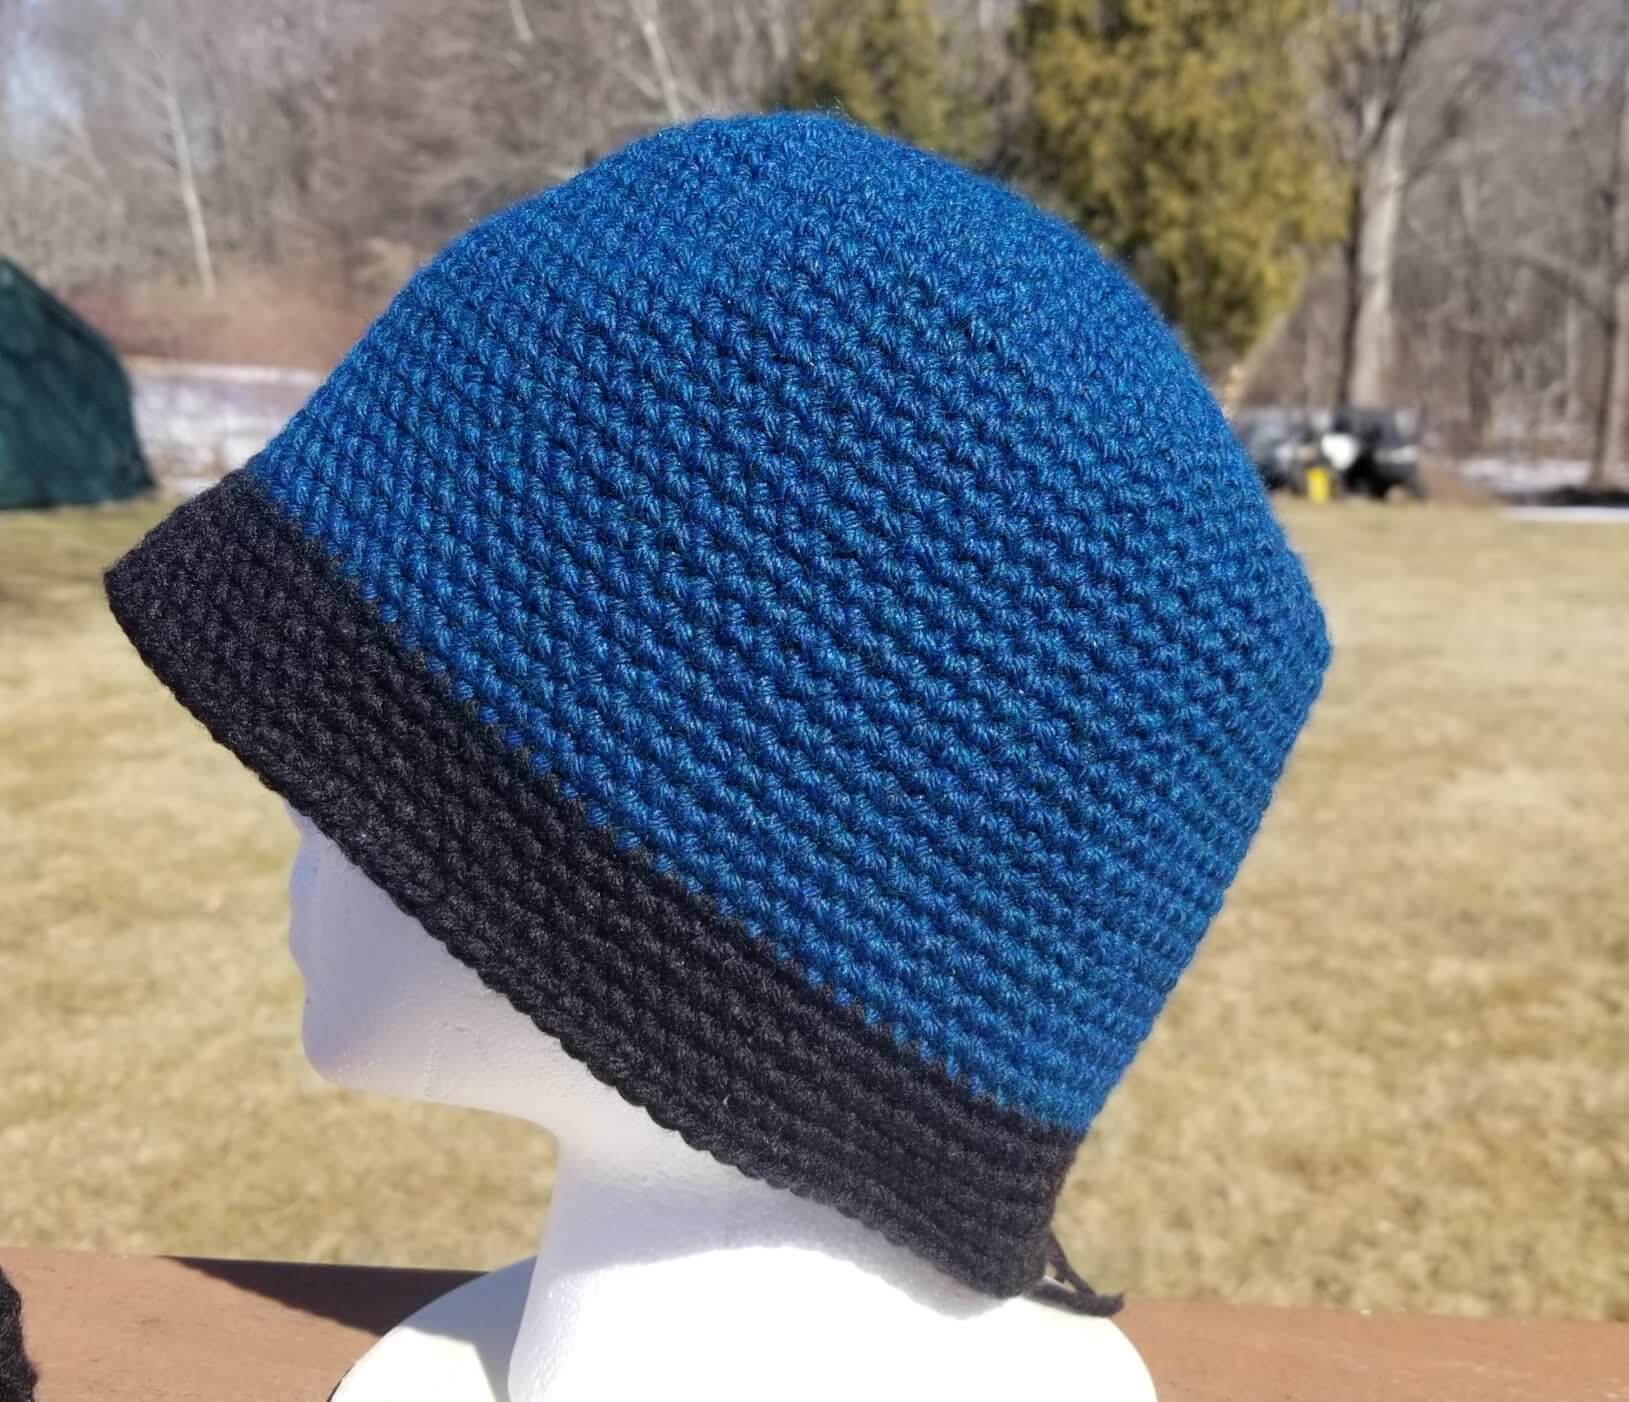
 Easy Crochet Balaclava
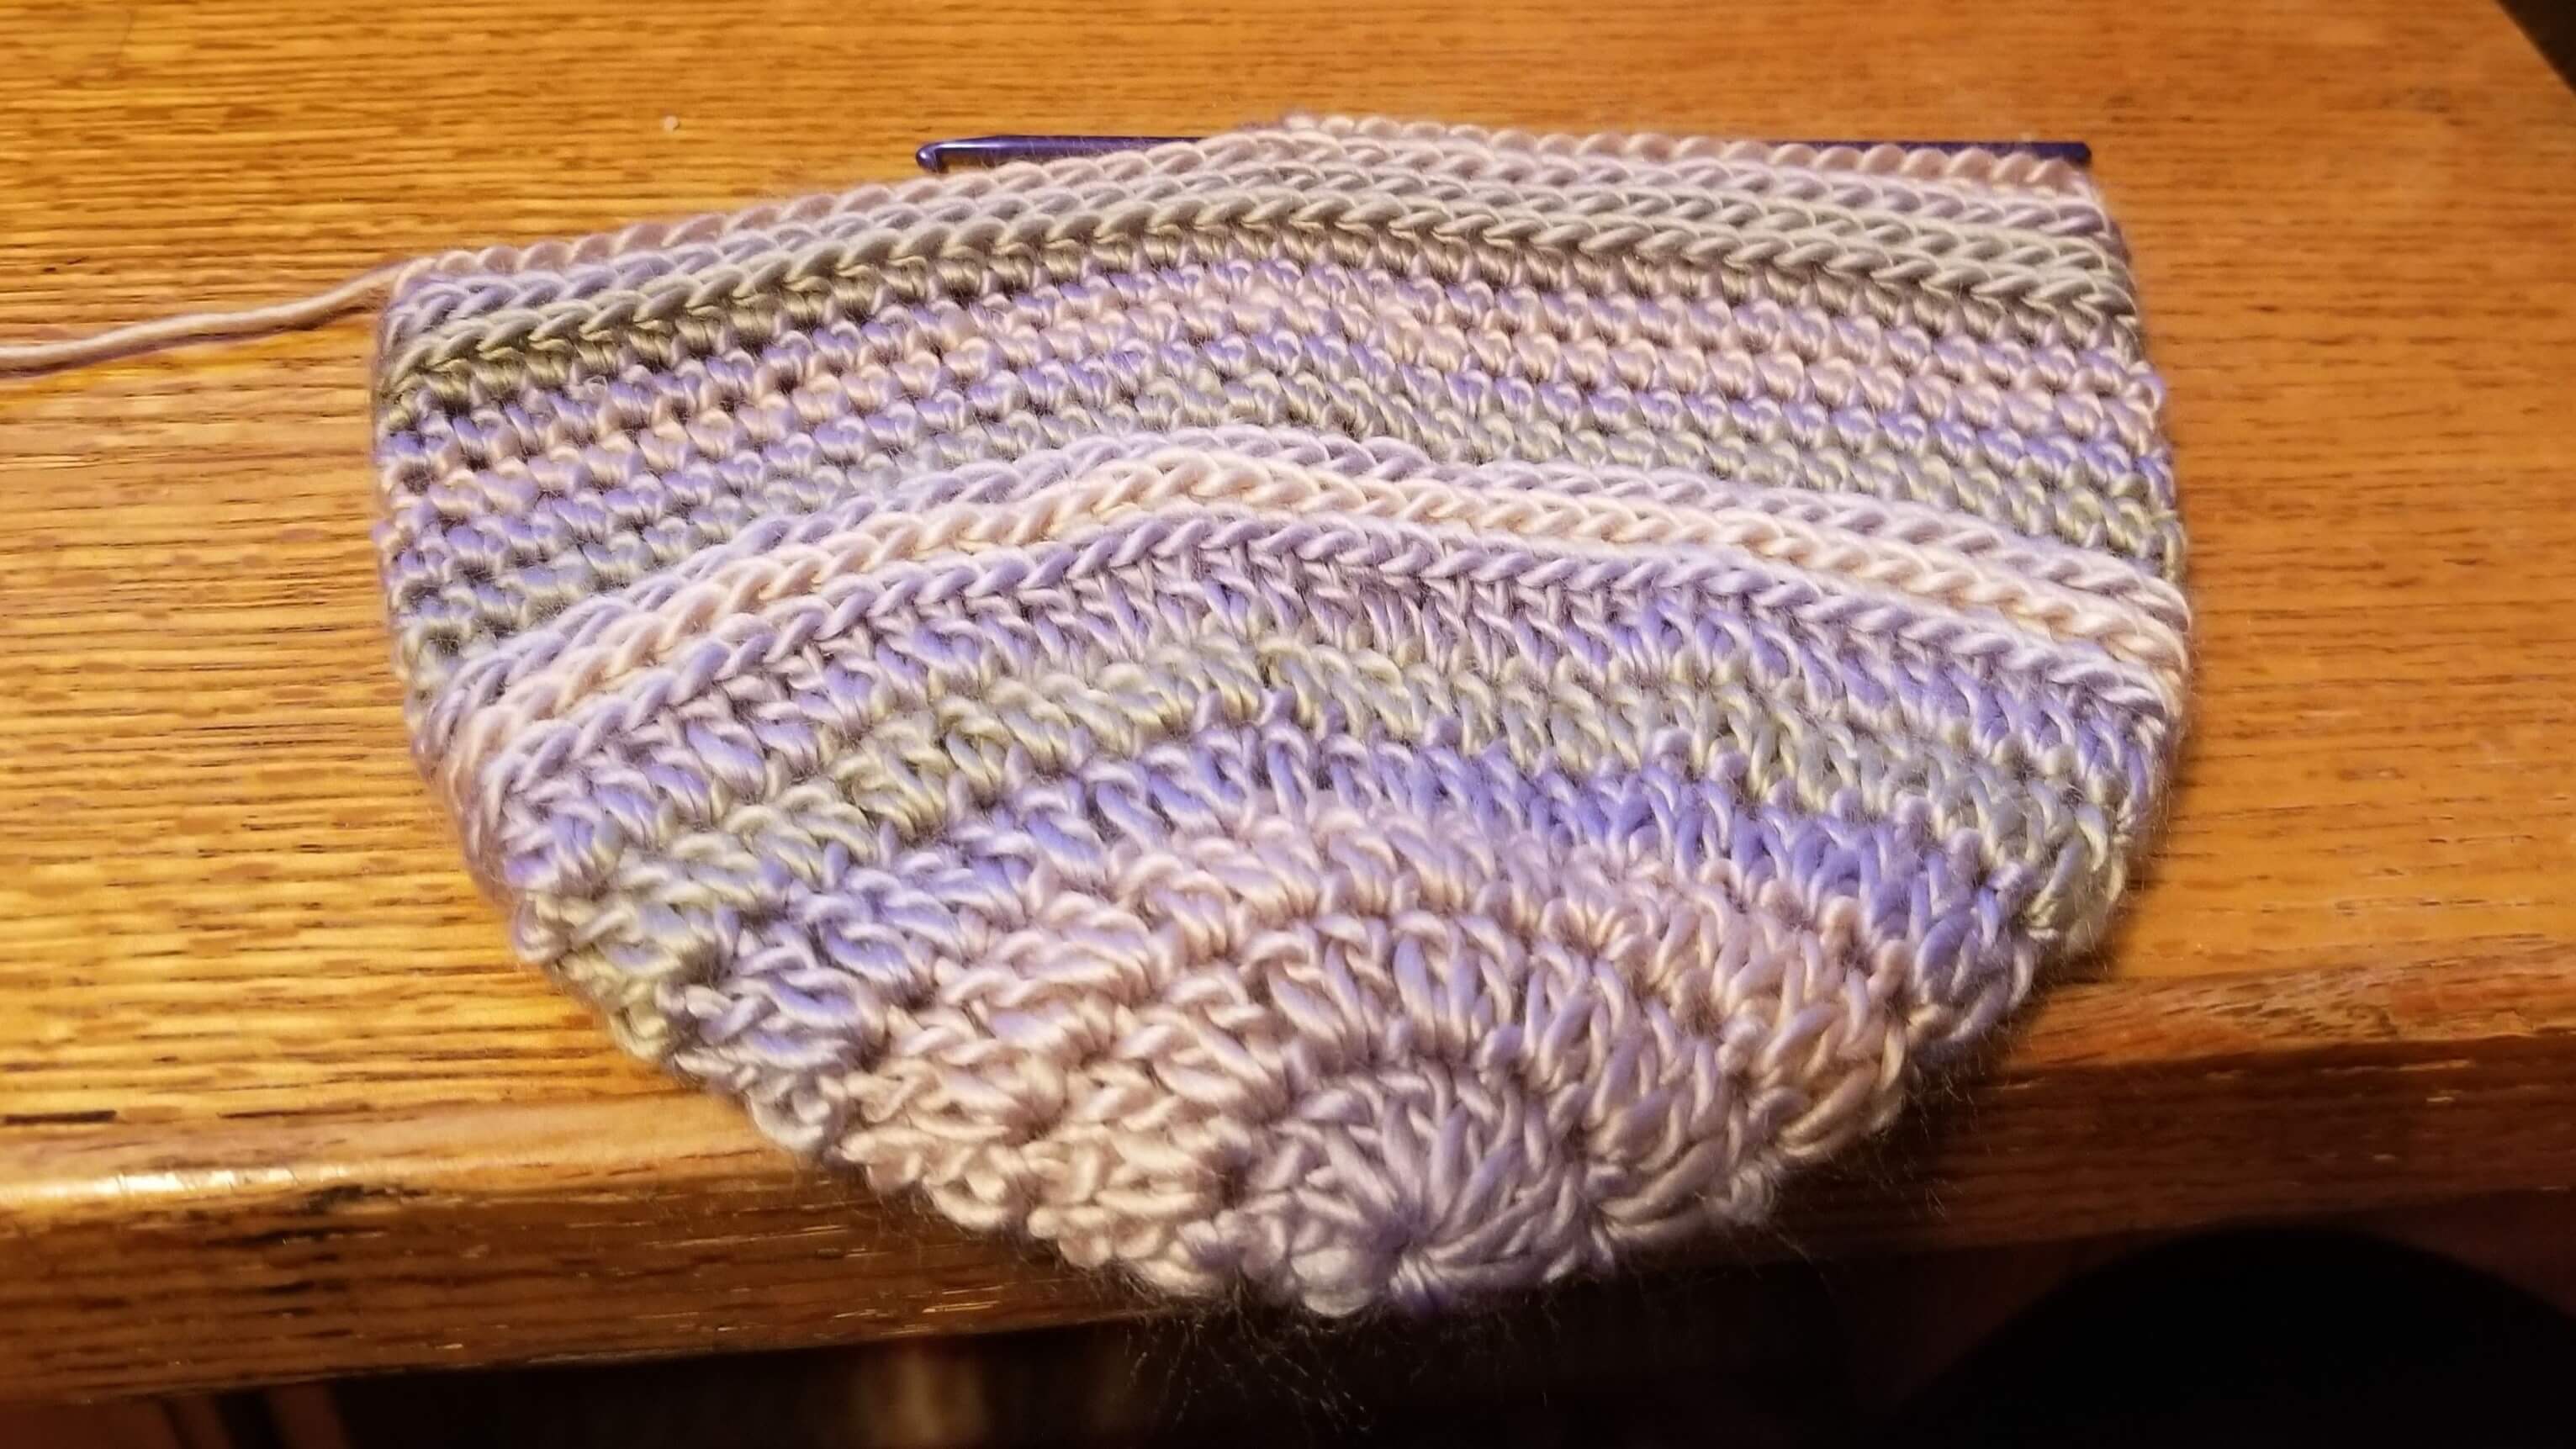
This one is made from the bottom up, using the following stitches:
Back Post Double Crochet (bpdc)
Chains (ch)
Foundation Double Crochet (fdc) How to do Foundation Double Crochet Video
Front post double crochet - fpdc
Half Double Crochet (hdc)
Slip Stitch (sl st)
Single Crochet (sc)
Other Abbreviations Used:
Back Loop Only (blo)
Use 175 yards of any medium (4) weight yarn you prefer and a hook 1mm smaller than the recommended hook size. For example, I used size 4mm when the medium-weight yarn suggested a 5mm. Using a smaller hook makes a denser fabric.
Gauge: height and width 4 sc = 1 inch
Measurement: 24” x 13”
Crochet enough chains to fit around the forehead. Make sure the number of chains is divisible by 2. Join with sl st without twisting. 1 dc in each chain around. Join with slip stitch
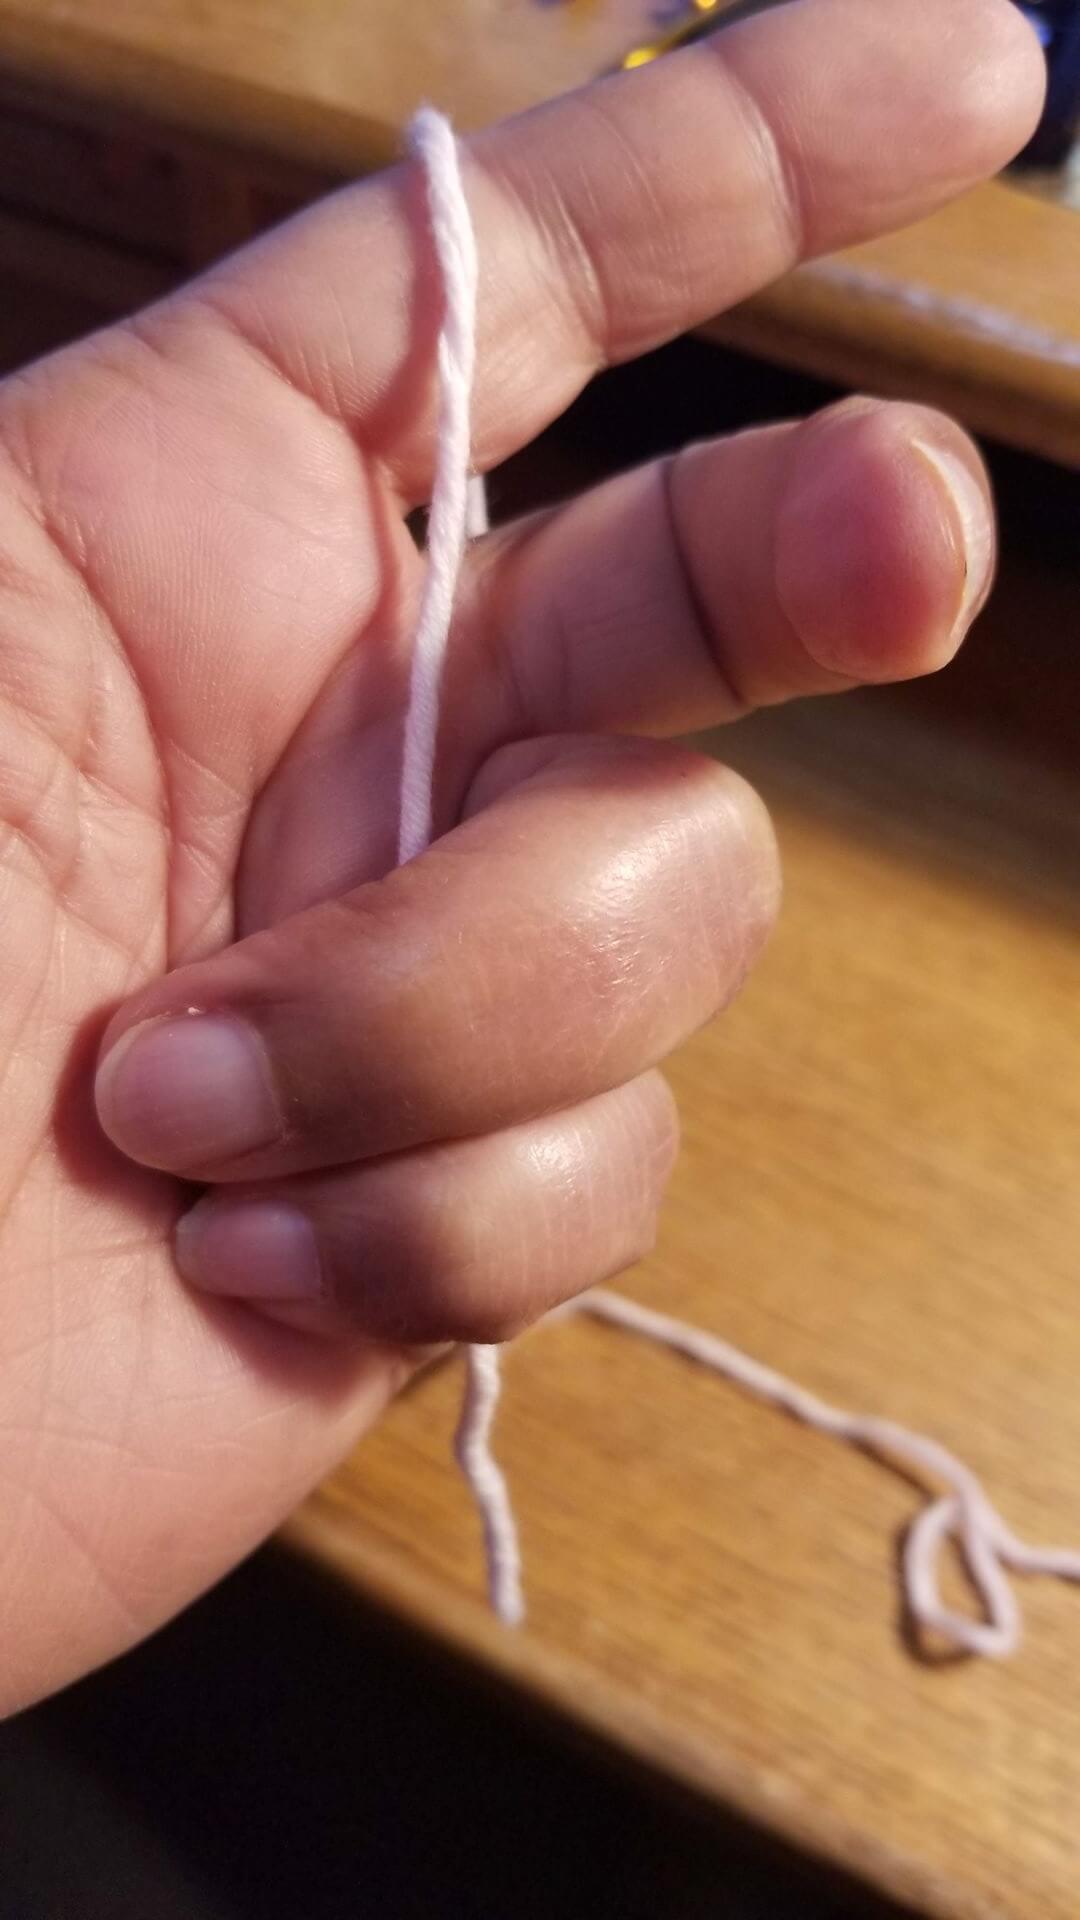
My preferred way to start this hat is using foundation double crochets (fdc), which create the chains and double crochet simultaneously.
I also prefer not to join at the end of each row in the body of the hat. Joining the rounds on the brim is ok, but on the body of the hat, it can be tricky to keep the join invisible. So instead, you may use a stitch marker to keep track of the start of each row. If you choose to join, start each row with 3 chains and sl st at the end of the row to the 3rd ch.
1. Ch 3. (1 fpdc in next 2 stitches. 1 bpdc in next 2 stitches) around. Join with sl st to 3rd ch from the start.
2 -14. Repeat row 2.
15. 1hdc in each stitch around. Join or do not join as you like.
16-28. Continue working 1 hdc in each stitch (approximately 7 inches)
29. Chain enough to give you approximately a 7-inch slit. I made 26 chains. Next, Skip the equivalent number of stitches in the chains, and starting from the next stitch, 1hdc in each stitch around.
30. 1 hdc in each chain made in row 29. 1 hdc in each stitch around.
31. 1 hdc in blo of each stitch around
32 Repeat row 31.
33. 1 hdc in each stitch around.
34 – 42. Repeat row 33.
Shape the top by decreasing
43. 1 hdc in the next 3 stitches. 1 hdc decrease over the next 2 stitches.
44-48. Repeat row 43
49. 1sc decrease around.
The hole should be approximately the size of a US penny.
Cut yarn. Thread yarn around and pull to cinch up the hole. Secure the yarn end and weave in the tails.
Good job! Your special person will love this.
- Home
- Crochet Balaclava Mask
Crochet Hat Patterns You Can Make
Crochet Hat Patterns Are Easy Once You Know How
Easy Crochet Hat Pattern with only 2 crochet stitches
Easy Crochet Hat Pattern that anyone can make
Crochet Slouchy Hat Pattern that's both pretty and easy
Crochet Slouchy Hat Pattern, make it in a few hours


Signup for our Newsletter so we can send you more valuable crochet tips and tricks.
If you receive value from this site, please consider buying me a cup of coffee so that I can continue making great content.
Recent Articles
-
Crochet Balaclava Mask
 More commonly known as the ski mask in US. It covers the head, face and neck. Makes the perfect gift for a special man in colder climate.
 -
Modern Crochet Blanket Patterns Free
 Modern Crochet Blanket Patterns Free
 -
Magic Loop also known as the Magic Ring
 Magic Loop, Learn how to do it here