Understanding crochet pattern instructions
In understanding crochet pattern instructions, read the pattern in its entirety. Next, look up any abbreviations and terms that you don't know. Crochet patterns use abbreviations so that the patterns are as concise as possible. The Craft Yarn Council has come up with some standards, which include abbreviations and terms.
You must know how to make crochet stitches. Study the 6 basic stitch abbreviations and know how to make them. These are:
- Chain (ch)
- Double Crochet (dc)
- Half Double Crochet (hdc)
- Single Crochet (sc)
- Slip Stitch (sl st)
- Treble Crochet (tr)
Knowing if the patterns are from a UK or US/Canada designer is also helpful since some stitches are named differently.
US/Canada UK
- Slip stitch (Sl st) Ss
- Single crochet (Sc) Double Crochet (Dc)
- Half Double Crochet (HDC) Half Treble (Htr)
- Double Crochet (Dc) Treble (Tr)
- Treble (TR) Double Treble (Dtr)
Tip: When reading a crochet pattern, if you see Double treble (Dtr), this is the tip-off that it is a UK version.
Terms refer to the actions that you take. Some of the more common ones are:
- Inc Increase
- Dec Decrease
- Rep Repeat, usually what is between { }, * * or ( )
You may work a pattern back and forth across rows or diagonally, in one direction across rows, as in Mosaic designs, or around ("in the round").
Sometimes, you are instructed to turn your work at the end of a row. I prefer to turn my work like a book from left to right. However, you may turn however you like as long as you are consistent throughout the project.
Speaking of consistency, patterns never tell you this, but you need to be consistent. For example, if you are inserting your hook under the 2 stitches, do that for the whole row when working across a row. Likewise, if working in the back loop, do this for the entire row. An exception to this may be that the final stitch is better worked under 2 stitches, giving your edges stability.
Understanding Crochet Pattern Instructions: more advanced crochet stitches
There are more advanced crochet stitches. Some of them are
- Front Post Double Crochet (fpdc)
- Back Post Double Crochet (bpdc)
- Popcorn Stitch (pc)
- Cluster Stitch (cl)
See more Crochet stitch patterns here.
What Yarn and Hook to use
Patterns will give you information about the yarn and hook size. Both yarn and hooks come in different sizes. Sometimes the crochet hook is referred to as a needle. Don't be alarmed or confused by this.
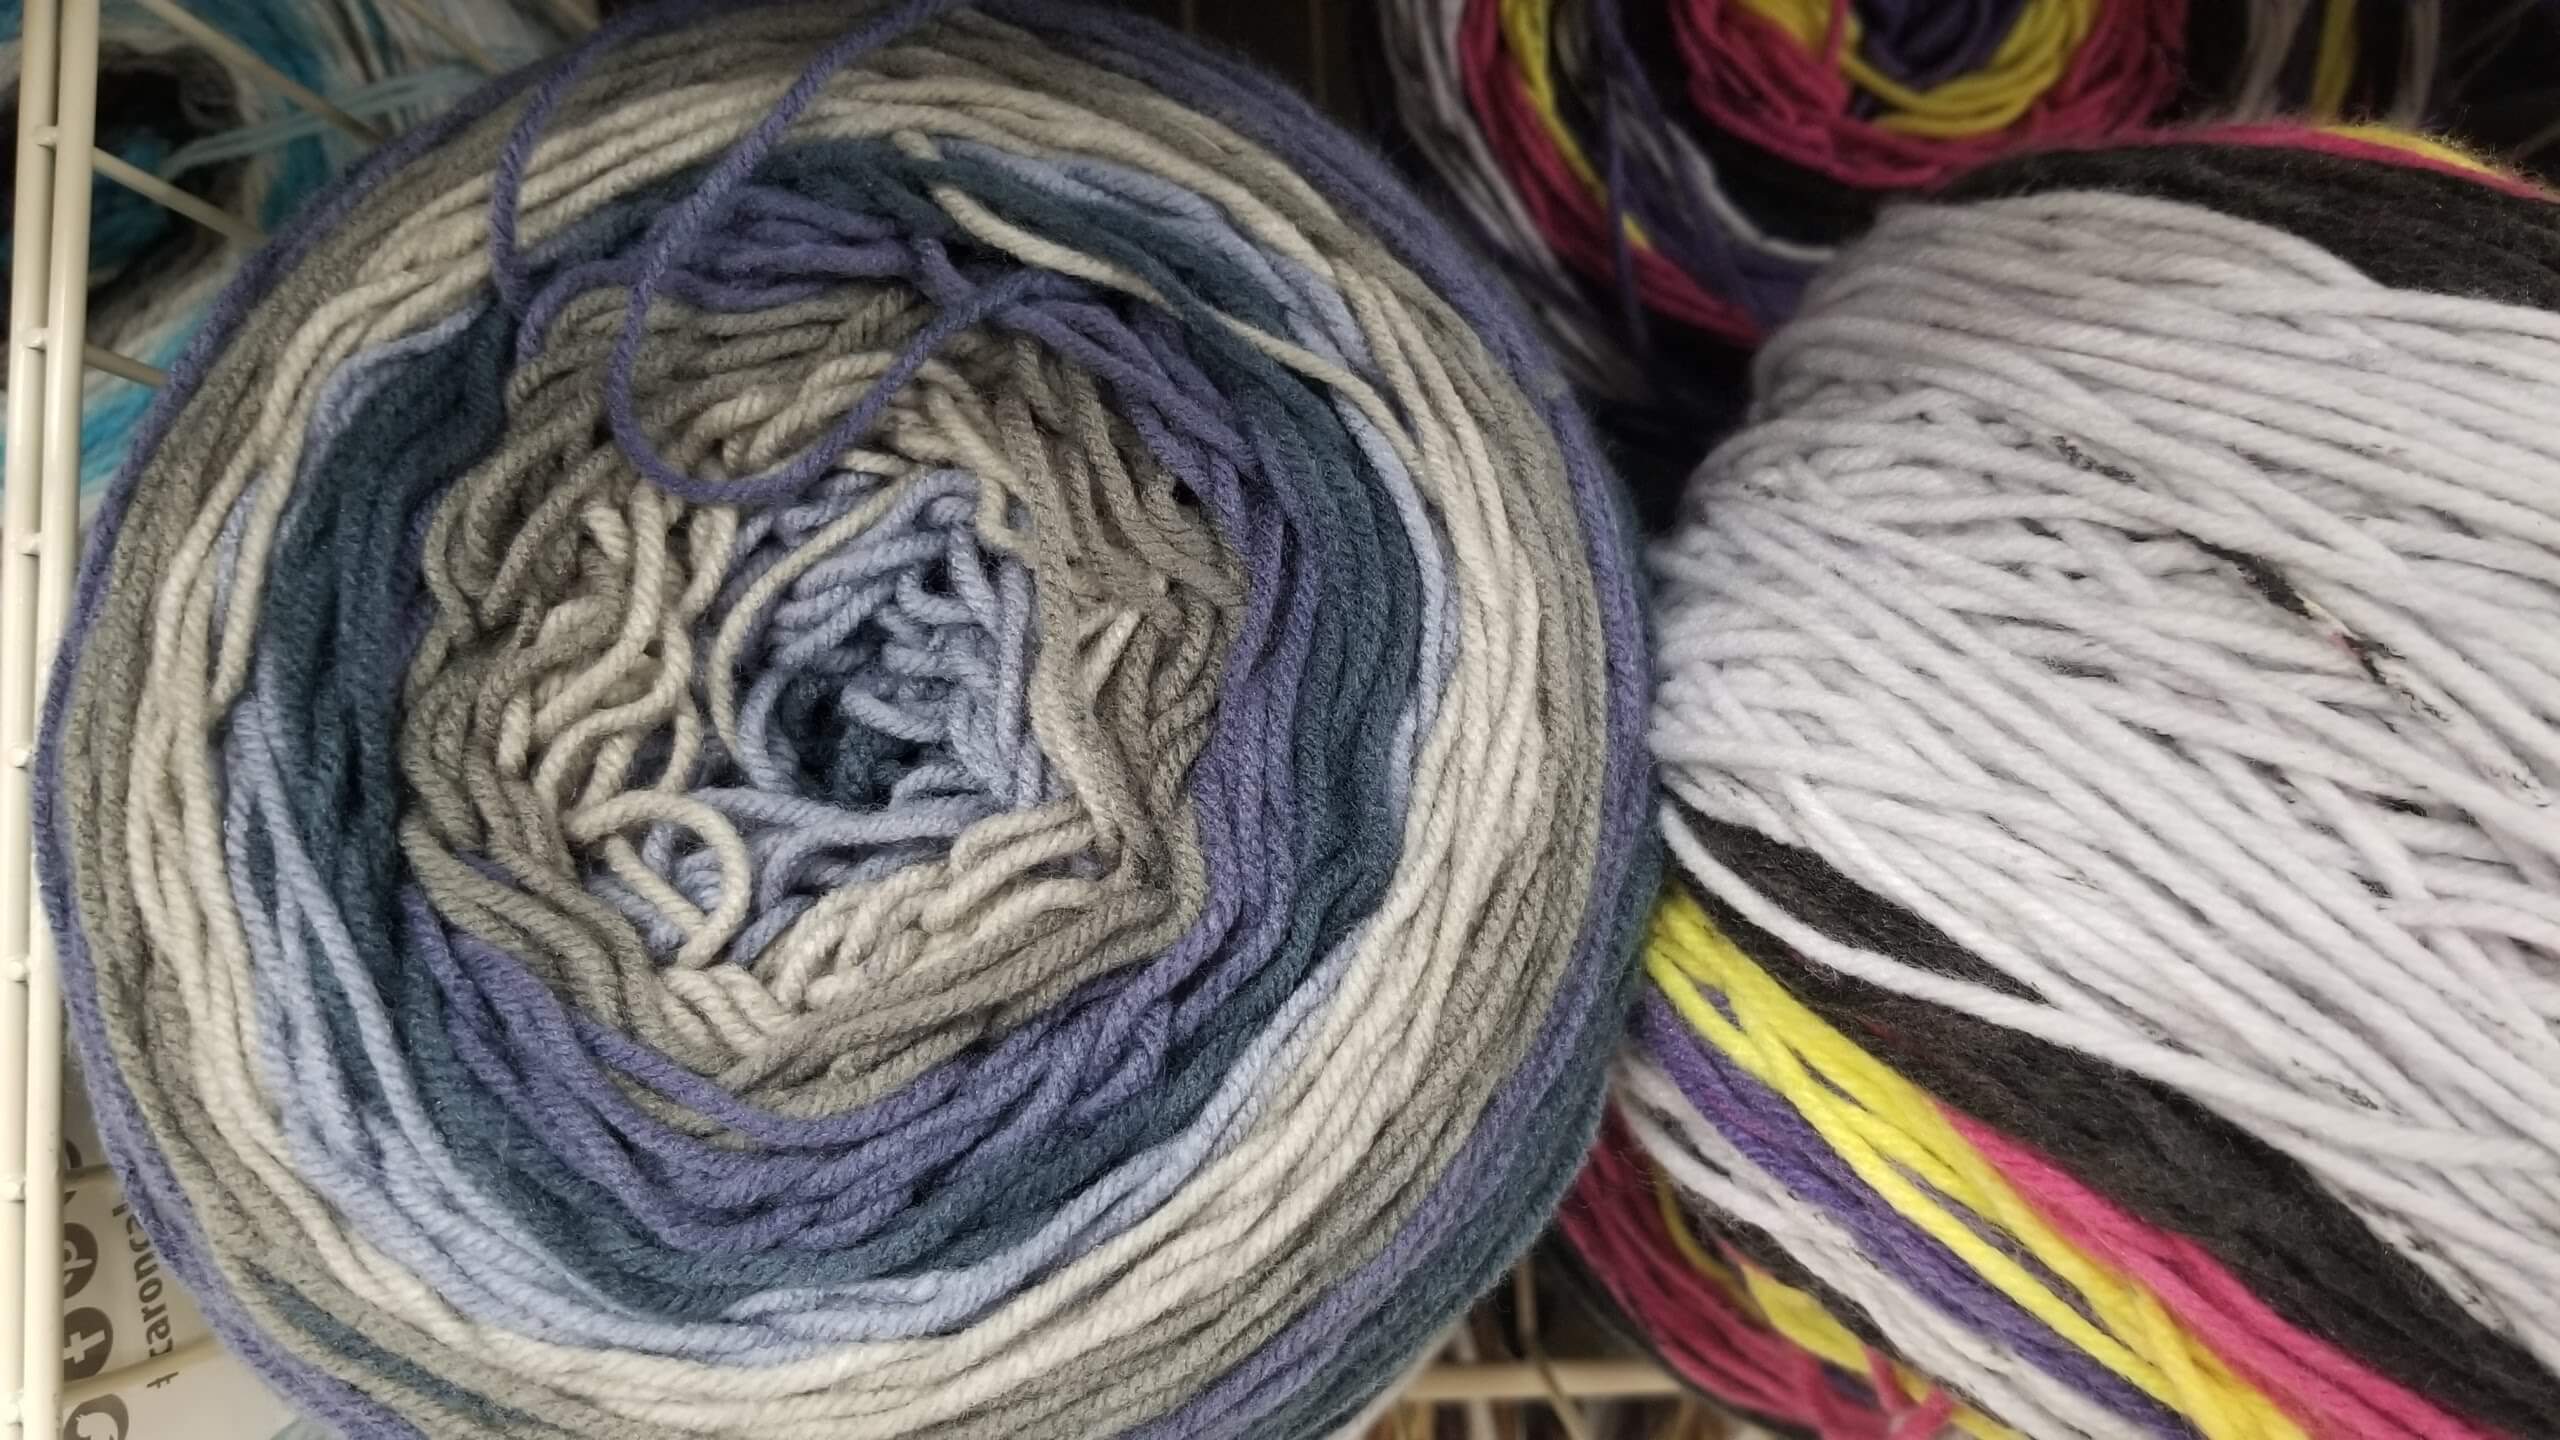
There are many different kinds of yarns. Some are beginner-friendly, and some are not.
Beginners should use smooth yarn that has a solid look. Using yarn other than this won't be easy to handle because your hook will catch in it, and the stitches will not be cleanly made. Using a hook that is too small or too large for the yarn will also not work well. Instead, use the pattern recommended yarn or the one recommended on the yarn label. To obtain the pattern gauge, you may use hooks a few sizes up or down from the recommended hook.
What is gauge, and why is it important?
Gauge is essential if you want to make a similarly sized item as in the pattern.
Gauge is a measurement of the size of your stitches. Usually, the pattern designer will inform you of their gauge, and you will try to match it.
First, use the recommended hook to create a swatch of fabric 5 inches by 5 inches in single crochet or the indicated stitch. Next, measure 4 inches in each direction and count the stitches left to right and top to bottom. Divide the number of stitches across by 4, giving the stitch per inch gauge. Do this for the stitches down, and this becomes the row gauge. If your gauge does not match the designer's gauge, you will need to use a bigger or smaller hook to try to match the gauge.
Patterns may have no gauge if the size is unimportant or will be derived in another way. An example of this is a top-down hat, where the circle is measured to determine the finished size of the hat. Sometimes the pattern will have only the stitch gauge or both stitch and row gauge.
An example of how gauge is presented in a pattern
CAUGE: 3 stitches = 1” (2.5cm)
See if you can understand and crochet the following flower pattern. This flower represents your first crochet badge. Display it proudly because you can crochet, and you now have the capability of understanding crochet pattern instructions.
Sample Pattern
Simple flower
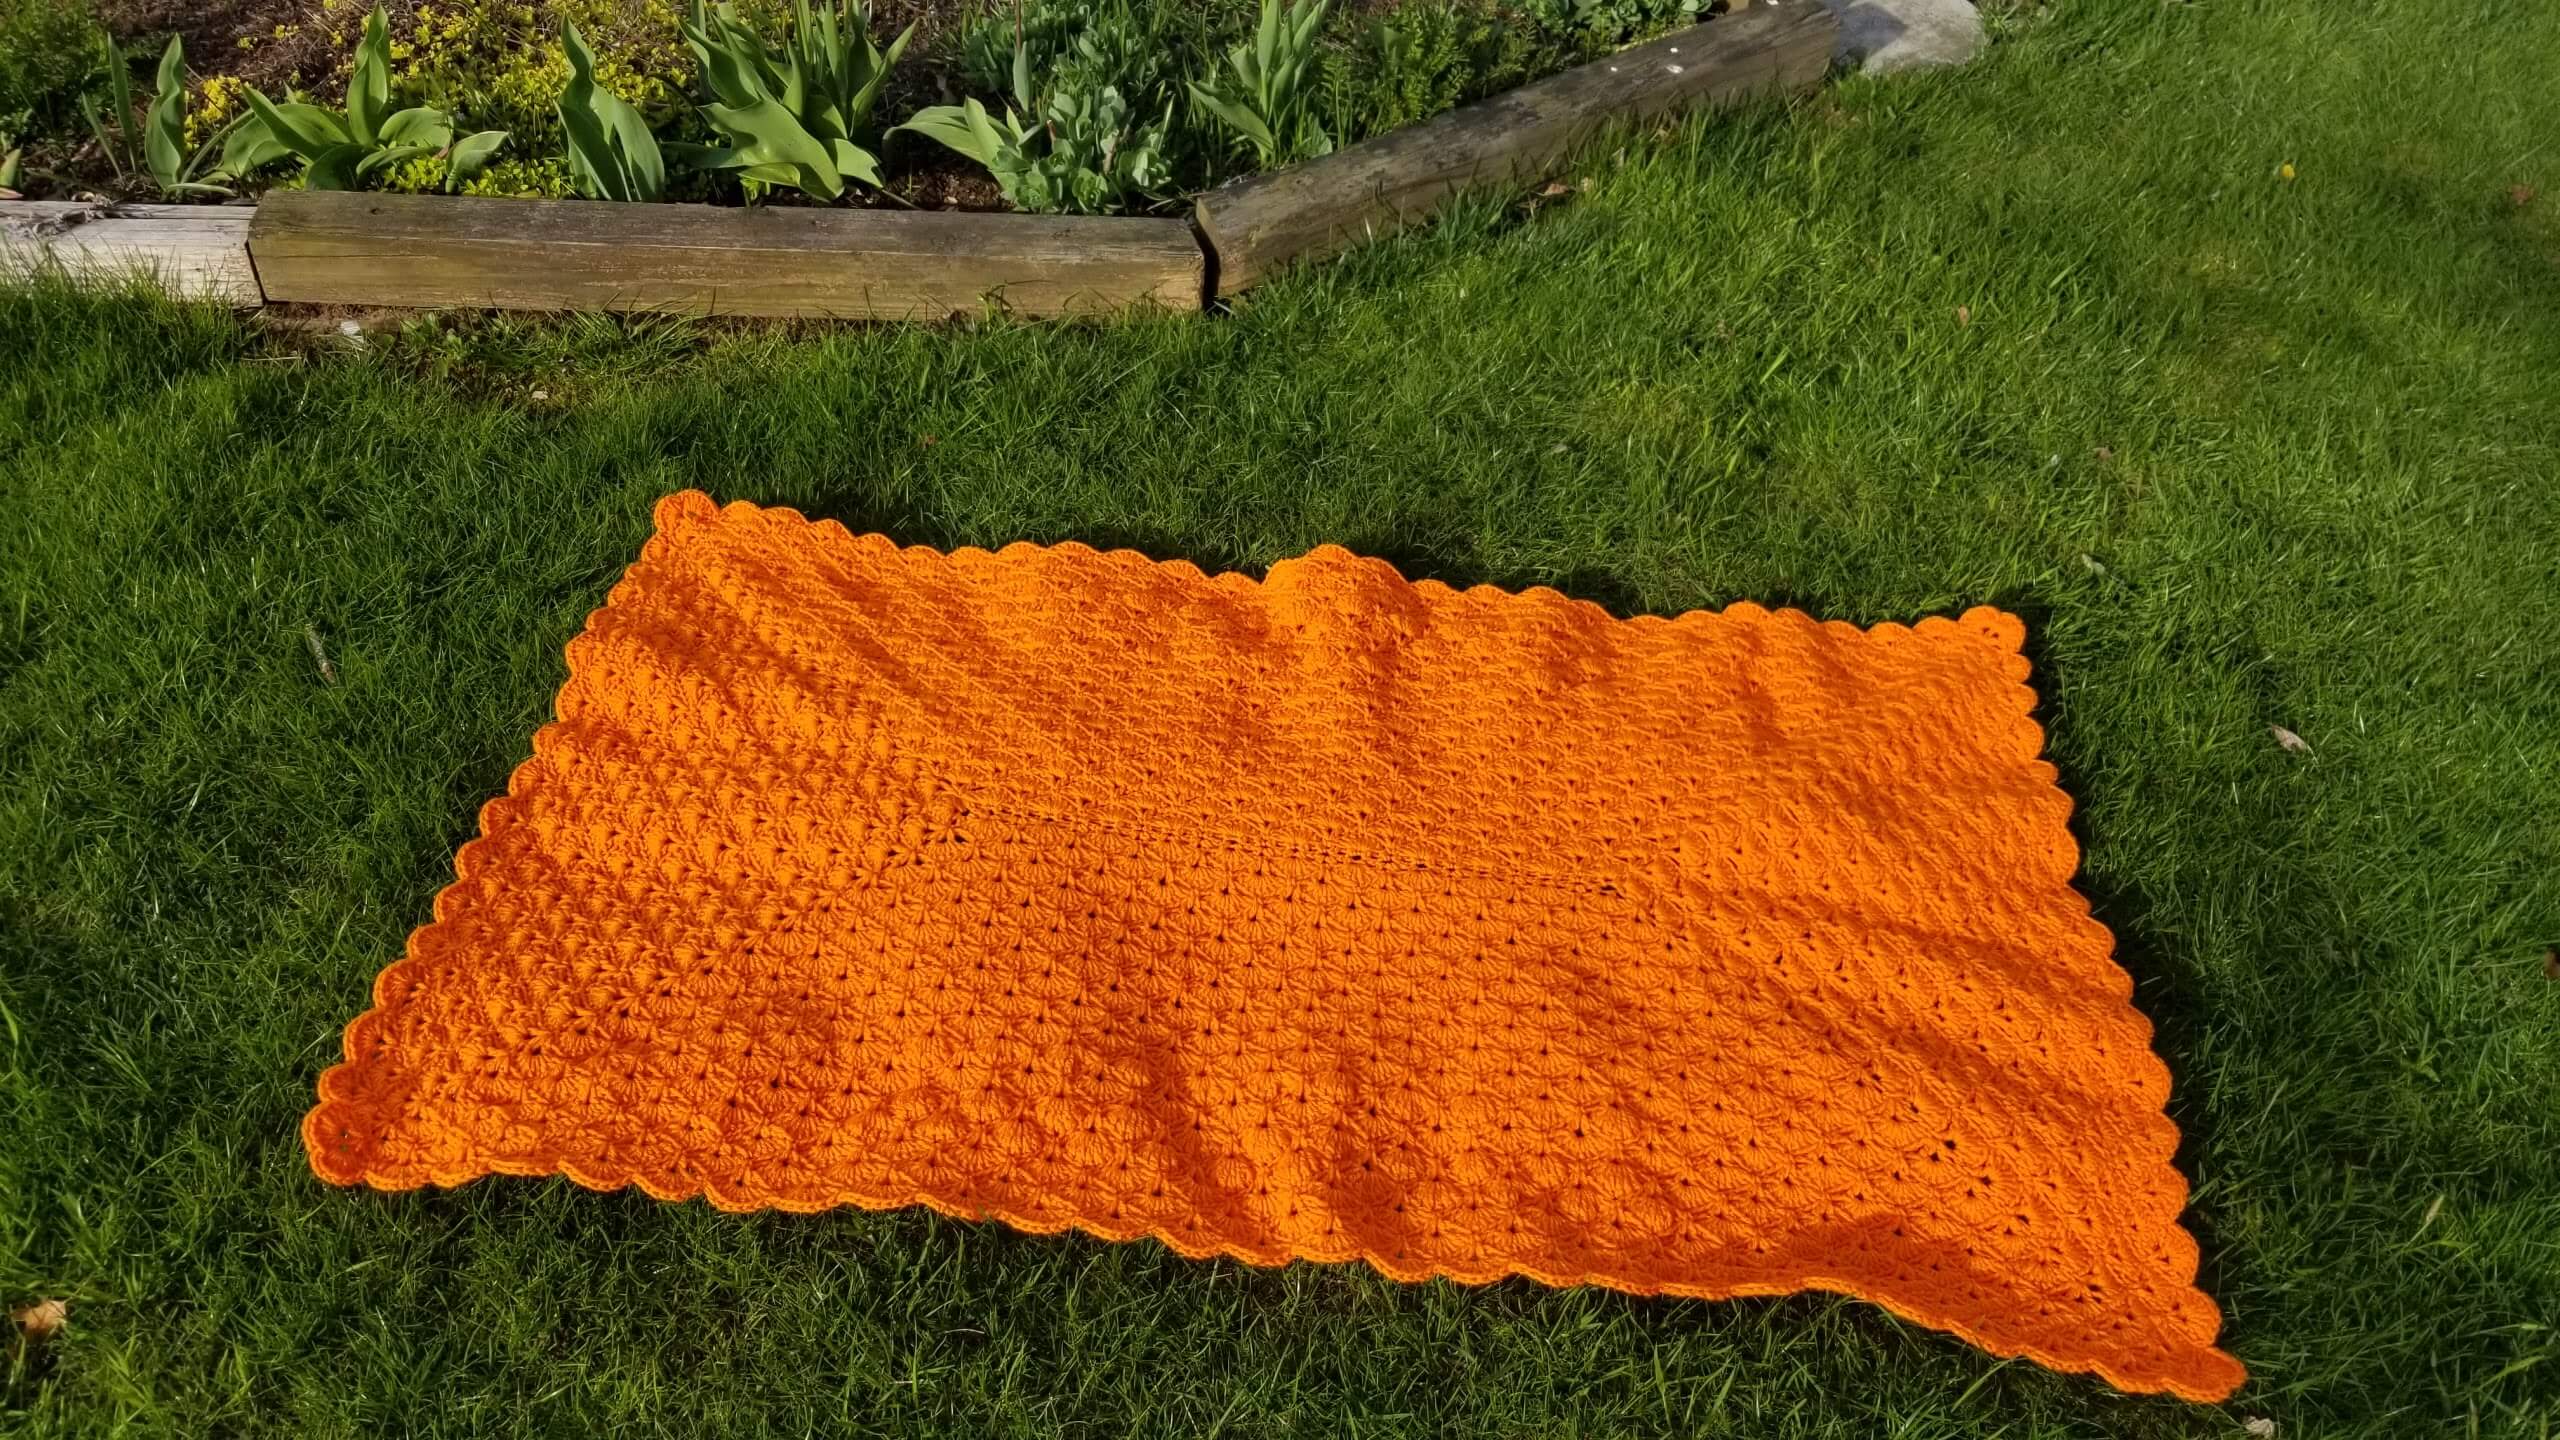
Yarn: Red heart super saver Pumpkin or any available no 4 or medium weight yarn.
Hook: 5 mm
Stitches used:
- Chain (ch)
- Single Crochet (sc)
- Slip Stitch (sl st)
Step 1 – Ch 3. Join with sl st to form a ring.
Step 2 – Work 8 sc into ring. Join with a sl st to first sc.
Step 3 - Ch 1. *1 sc in next stitch. 2 sc in next stitch* around. Join with a sl st to beginning ch.
Step 4 – *Ch 5. Sk 1 stitch. 1sc in next stitch* around. Join with sl st to the base of ch5.
Cut yarn and weave in ends.
Crochet for Beginners, Start here if you've never crocheted
Crochet for Beginners tell you how to get going

Signup for our Newsletter so we can send you more valuable crochet tips and tricks.
If you receive value from this site, please consider buying me a cup of coffee so that I can continue making great content.
Recent Articles
-
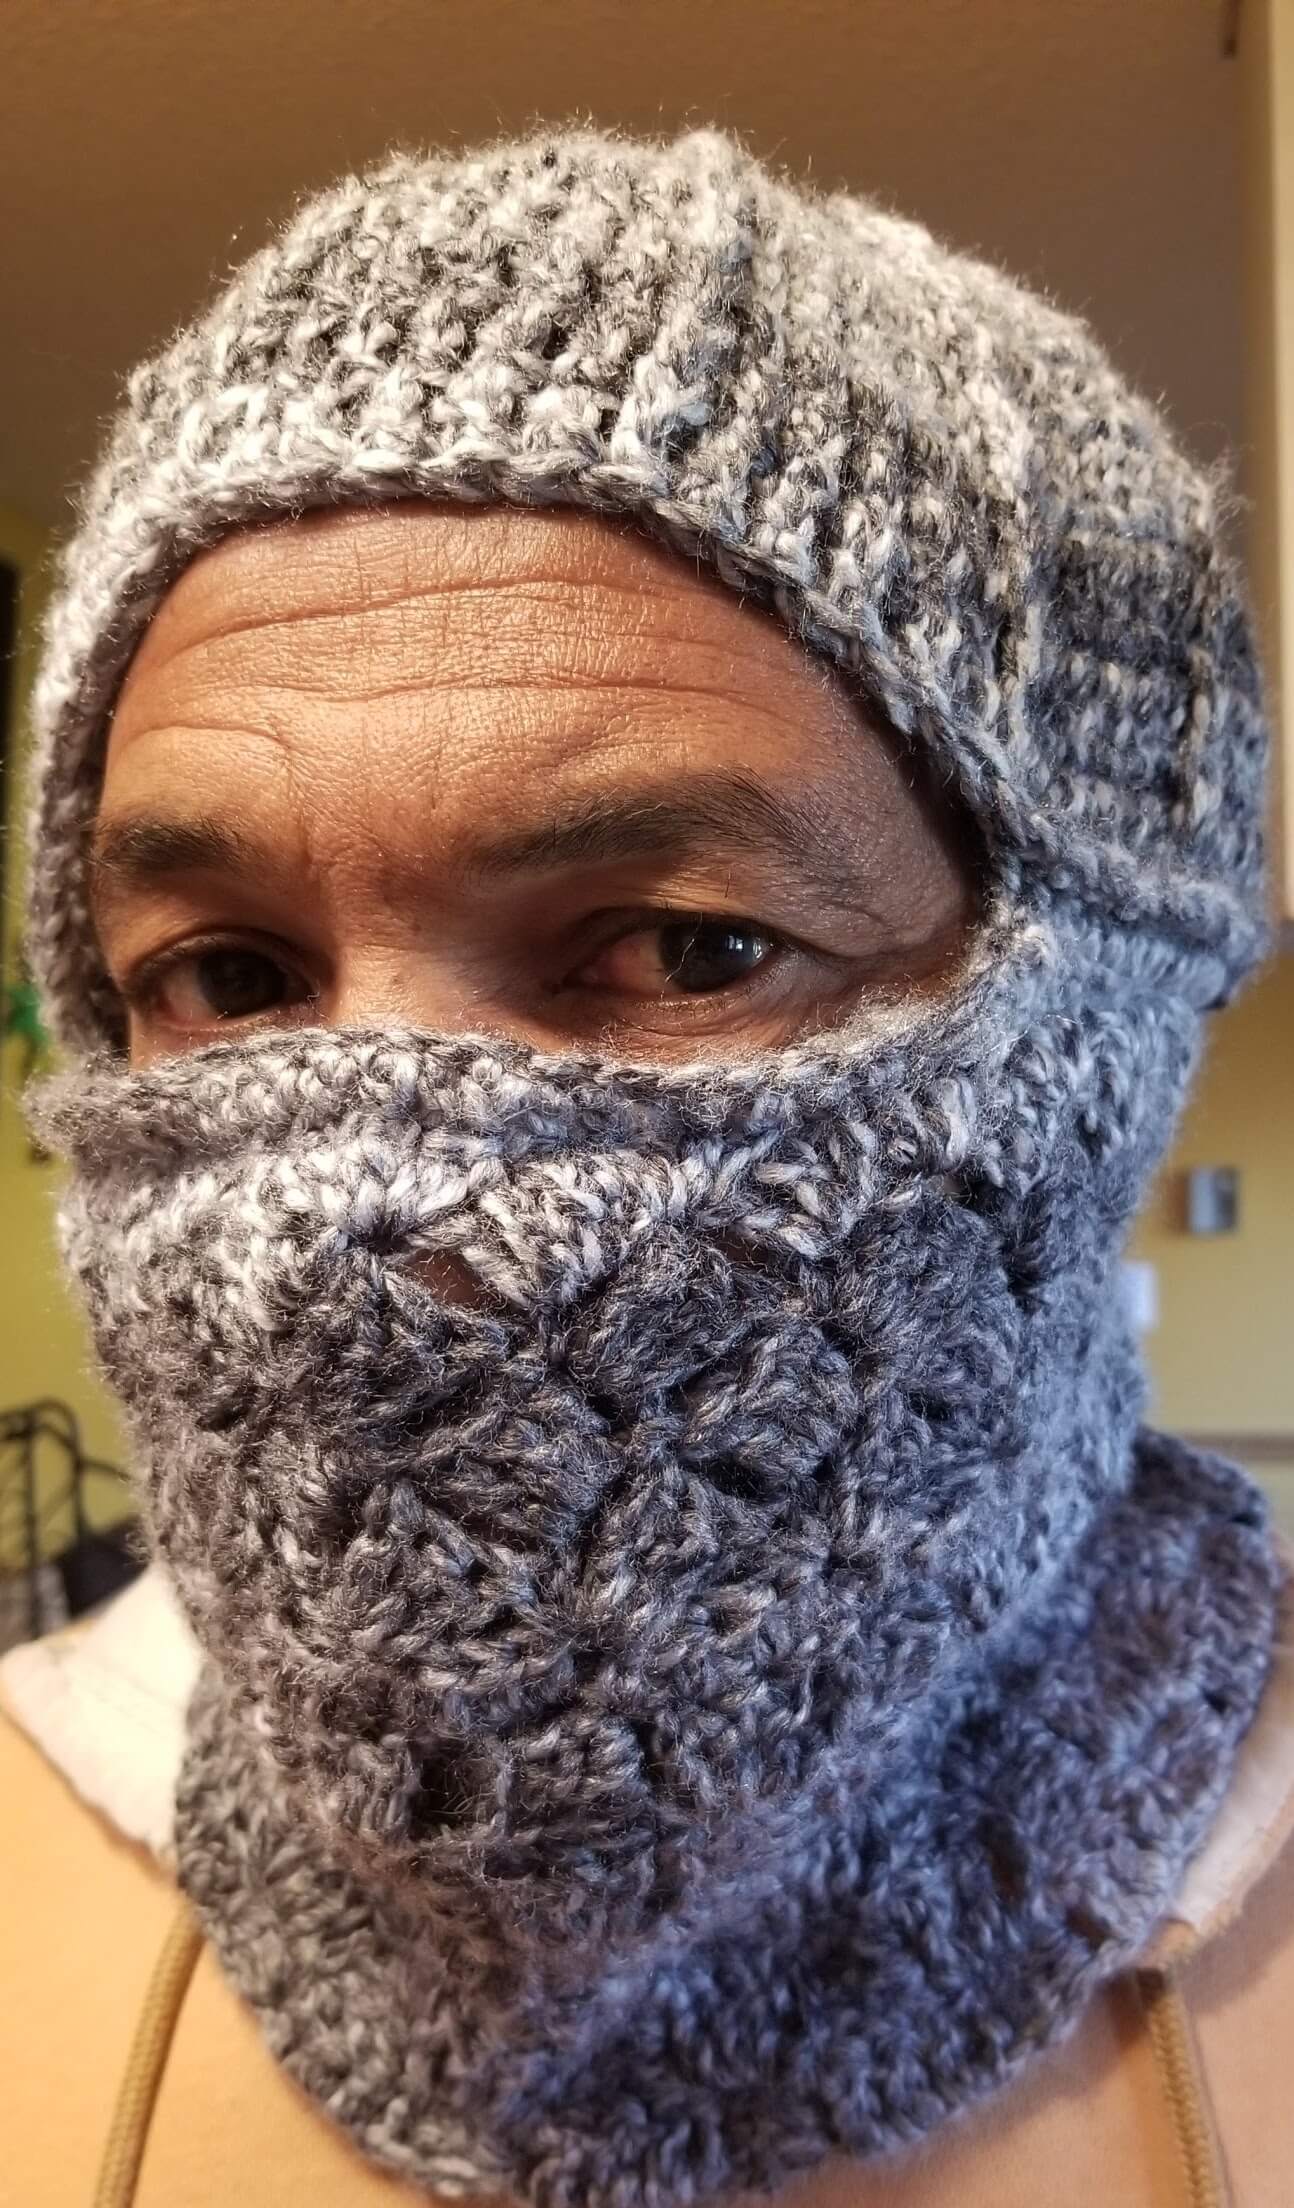
Crochet Balaclava Mask
 More commonly known as the ski mask in US. It covers the head, face and neck. Makes the perfect gift for a special man in colder climate.
 -
Modern Crochet Blanket Patterns Free
 Modern Crochet Blanket Patterns Free
 -
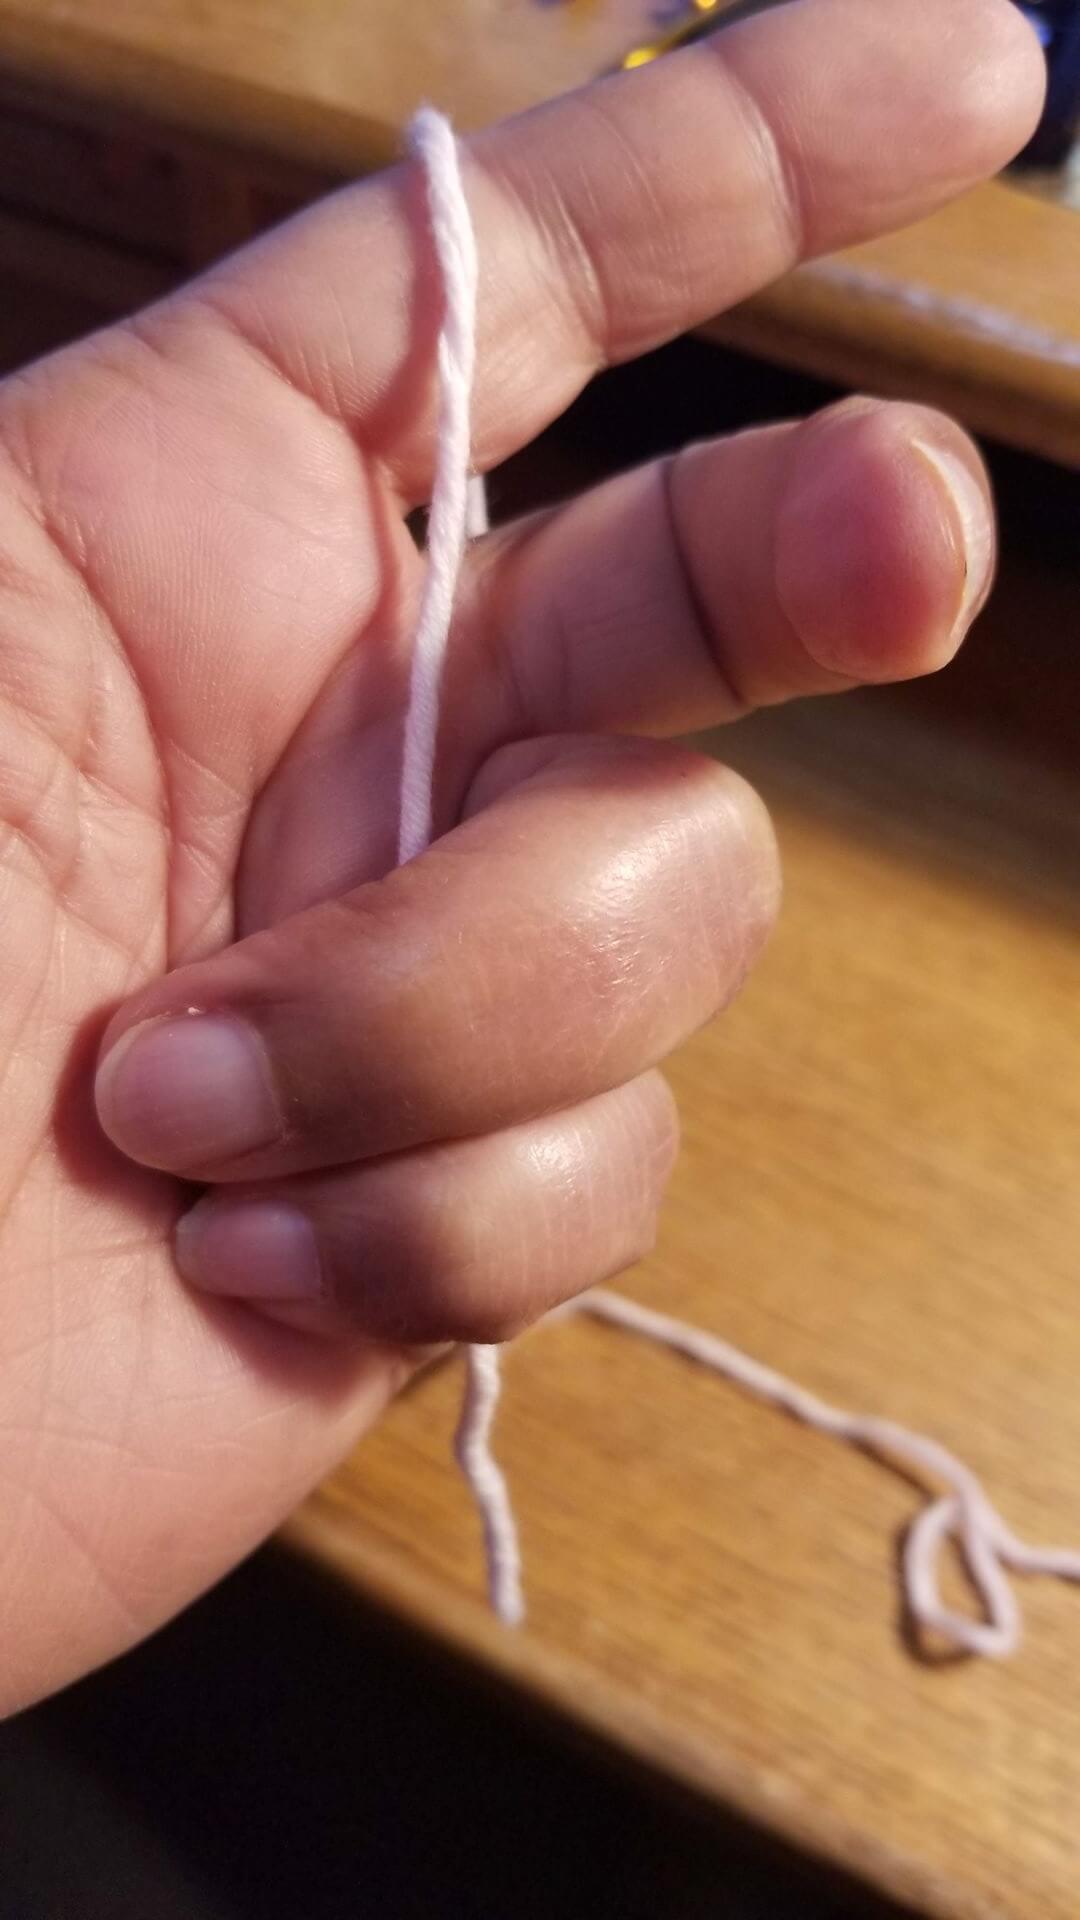
Magic Loop also known as the Magic Ring
 Magic Loop, Learn how to do it here